Topic: Activities for Improving Pronunciation and Intonation
Subject Area: English Pronunciation, Listening and Speaking
Student’s Grade: 6th grade (Primary Education)

During the past few months, I’ve been working on my final project for the Language Assistant Program in Madrid. My approach is a list of activities I put into place every Wednesday when I have my sessions with 6th grade. The aim is to improve their knowledge and fluency in English and to make them aware of the correct pronunciation of words and some basic techniques they can use to improve their speaking skills. All of these activities can be adjusted to any level, and I have in fact used them too on a practical level with grades 5th and 4th; and thus they are part of the work I do every day at my school.
Each activity has been specifically designed to cater to the needs of my students and adjust to the things I know they enjoy and like. Learning, above all things, should be easy and fun. When it comes to our 6th grade class, I’ve learned that these students learn better and faster when you make them compete against each other in the form of games. Also, some students who struggle with confidence, have been able to get out of their shells and participate more when they see themselves as a valuable part of a collective effort. So my main goal is to teach as if I am playing, to make learning something we can all enjoy and crave, and to allow this learning process to be as natural and effortless as it should be. Just like when we learned to say the first words in our mother tongue and when we speak our native languages on a normal basis!
EVALUATION: The teacher and I evaluate the students while doing the activities by following specific criteria. The areas we wish to target are PRONUNCIATION (Is the student saying clearly articulated words, is he/she using the correct intonation?), INTERACTION (Is the student able to understand, ask and answer questions? Is the student’s response appropriate for their level? Is the student able to communicate his/her response in an effective manner?), VOCABULARY (Does the student understand the meaning of a word, is he/she using the vocabulary taught in class? Is the vocabulary appropriate for the student’s level?), ACCURACY (Is the student able to use multiple tenses? Is he/she able to use the correct sentence pattern and syntax?), COMMUNICATION (How is the student able to use the language he/she knows for communicating an idea?) , and FLUENCY (How confident and comfortable is the student when he/she speaks? Does the student hesitate when trying to communicate an idea?). Evaluating these areas can give us true insight into a student’s speaking abilities.
Below, are the activities that make up my Final Project:
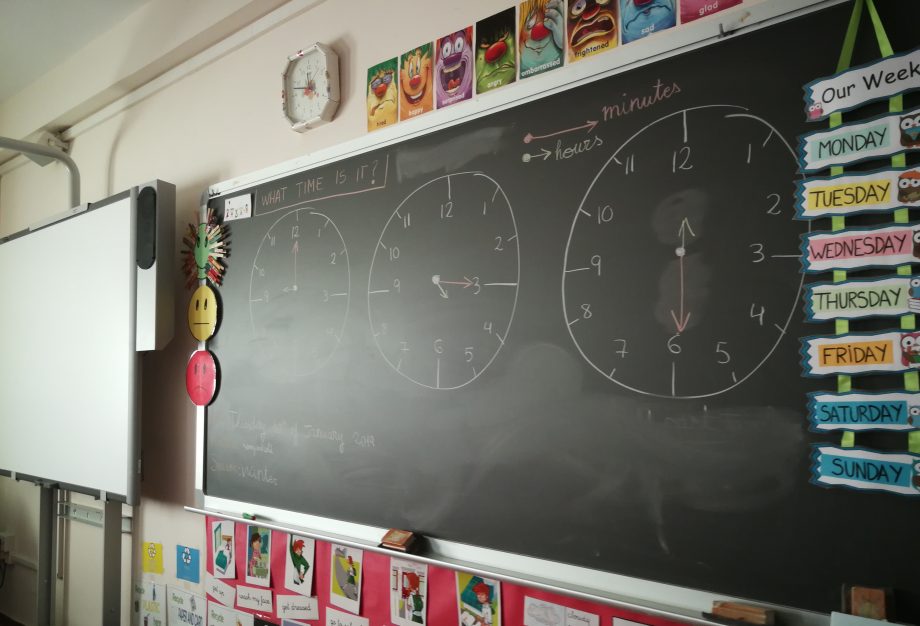
Synthetic Phonics and Mouth Positioning to Improve Pronunciation
TOPIC: Pronunciation, Intonation, and Synthetic Phonics
OBJECTIVES: By the end of the activity, students should be able to recognize the sound of individual letters and syllables in words. They should also be able to make those sounds by being aware of the position of the tongue and lips when they pronounce and get the correct intonation through repetition.
MATERIALS: The only materials required for this activity, apart from the vocal instrument, are the digital resources listed below. Flashcards with the letters, syllables or words can also be used, as well as the whiteboard or another surface fit for writing.
TIMING: 20-25 minutes
TOOLS AND RESOURCES: Youtube videos were displayed using the classroom digital board.
These are the videos that were used in class to demonstrate and extend on this topic:
TEACHER’S ROLE: The teacher monitors the activity and organizes the class to facilitate the learning and maintaing a good class environment.
L.A.’S ROLE: The language assistant has a leading role in this activity and is in charge of demonstrating the basic sounds and the positioning of the mouth for the students to repeat. The L.A. is also responsible for providing feedback to the class and evaluating individual performance by making corrections and adapting the demonstrations.
Since this can be a difficult activity to try with large groups of students, the teacher and the language assistant need to work as a team to both maintain a good learning environment and make sure the objectives are met. In our case, we worked with a group of around 25 students and we were able to keep them engaged and attentive by demonstrating the different pronunciations in the form of chants. I noticed that this way, the students were able to listen and imitate the sounds better and therefore, there was a great improvement in their intonation.
What I find useful about this activity, is that it is not limited to just one session, but it can be adapted to any other lesson, especially when it comes to introducing new vocabulary words. When practicing new vocabulary words, I like to break the words into syllables and make them pronounce each syllable individually until we can all pronounce the entire word. Since correct pronunciation and intonation is a basic aspect of speaking, every activity in this project includes demonstrations where the use of synthetic phonics and the awareness of correct pronunciation and mouth and tongue position is essential.
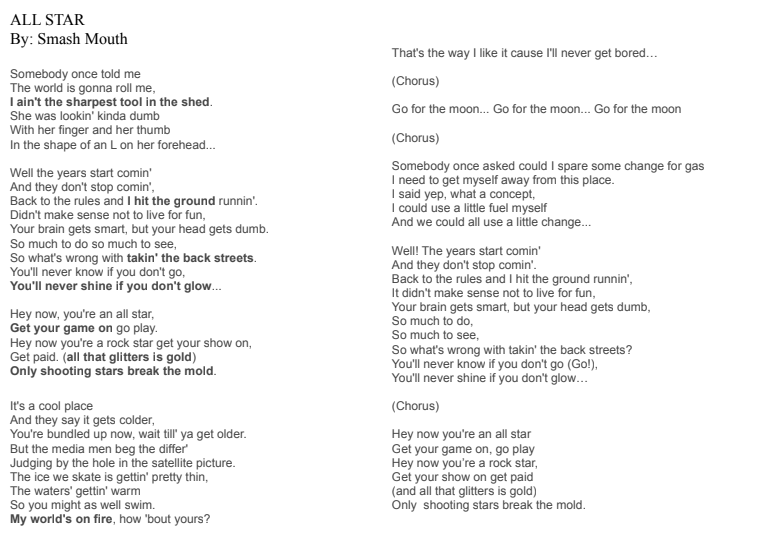
Learning English Through Songs
TOPIC: Pronunciation, Idioms, Phrasal Verbs
OBJECTIVES: Some of the objectives of this activity include acquiring more vocabulary, learning more idioms and understanding the use of phrasal verbs in colloquial speech, while paying attention to pronunciation, and intonation by listening to the song lyrics first and then singing the songs.
MATERIALS: I handed out the lyrics to a song where I had previously marked some of the idioms, phrases and phrasal verbs I wanted the students to learn. This can also be used to highlight the use of verb tenses, adjective and adverbs, etc.
TIMING: 30 minutes
TOOLS AND RESOURCES: I used the digital board to play the chosen song and watch the video. For this activity, we chose Smash Mouth’s “All Star” because it is a song our students know, like and it fits our objectives perfectly.
TEACHER’S ROLE: The teacher can aid in maintaining a good class environment and helping students individually when they have special learning needs.
L.A.’S ROLE: The language assistant corrects pronunciation, and introduces and explains the target words, concepts and phrases.
I am yet to know a person that doesn’t like music! Music feeds our souls, gives us that energy push we so often need, and it also brings us an opportunity to express our feelings and communicate our thoughts. Because everyone can relate to music, and everyone enjoys music, songs can be a very valuable tool to learn and become fluent in another language.
Because song lyrics are full of colloquial expressions, metaphors, verb tenses, ready-made phrases, idioms, and overall language we use every day I thought it would be a great idea to introduce some of these concepts in the class by learning a song I know my students already love. In English, songs have the added advantage of also being well known around the world because most famous singers use English as their main language when composing and singing a song. I hear my students sing popular songs in English when we run into each other in the hallway and in class without understanding the meaning behind the lyrics and not knowing they can use those same lyrics to improve fluency.
So it turns out, I tend to pay attention to the music my students listen to, and some days ago I heard one of my 6th graders singing a very popular pop-rock song. He was singing “All Star” by Smash Mouth. This song was made famous by the movie “Shreck”, and it so happens that the lyrics are full of idioms and positive phrases that we can use in class.
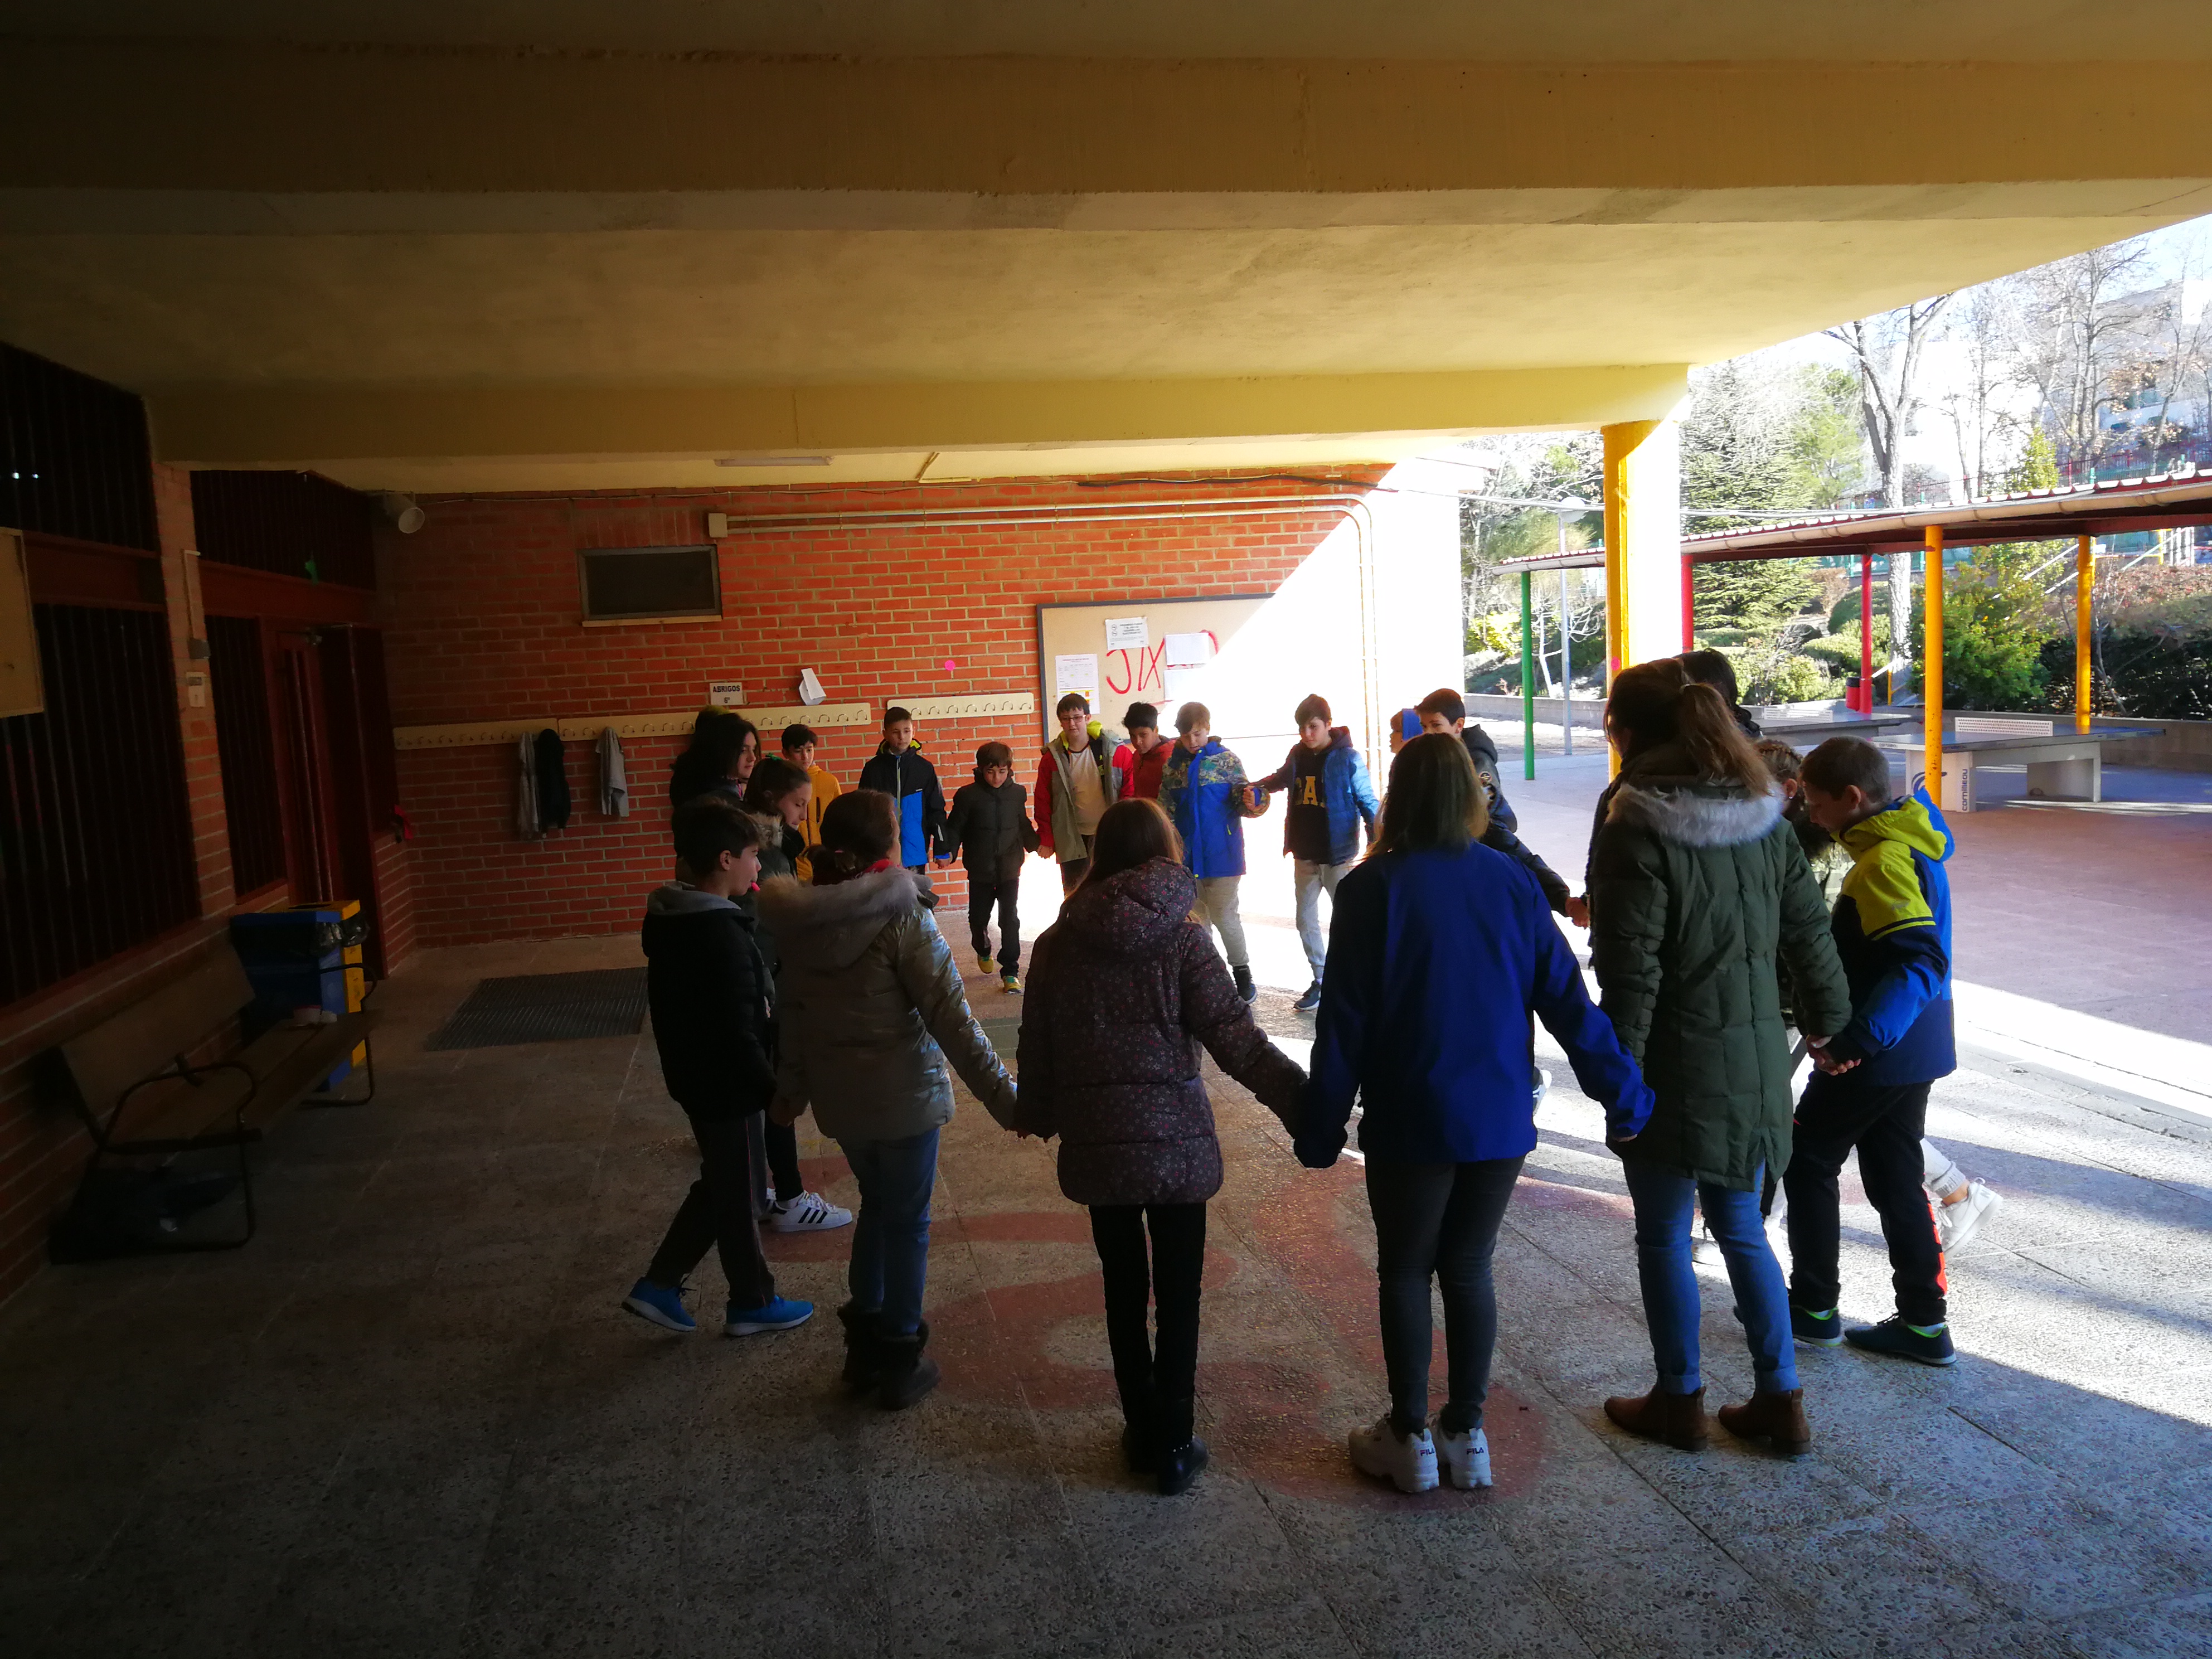
Stations: A Game to Improve Pronunciation
TOPIC: Pronunciation, Letter Sounds
OBJECTIVES: To pronounce words correctly by listening carefully to the sounds each letter makes and paying attention to the position of the mouth and tongue. Because students in Spain tend to find the pronunciation of letters “S”, “Z” and letter combinations such as “SH” and “CH” especially difficult, we chose to teach them how to distinguish these sounds in commonly used words.
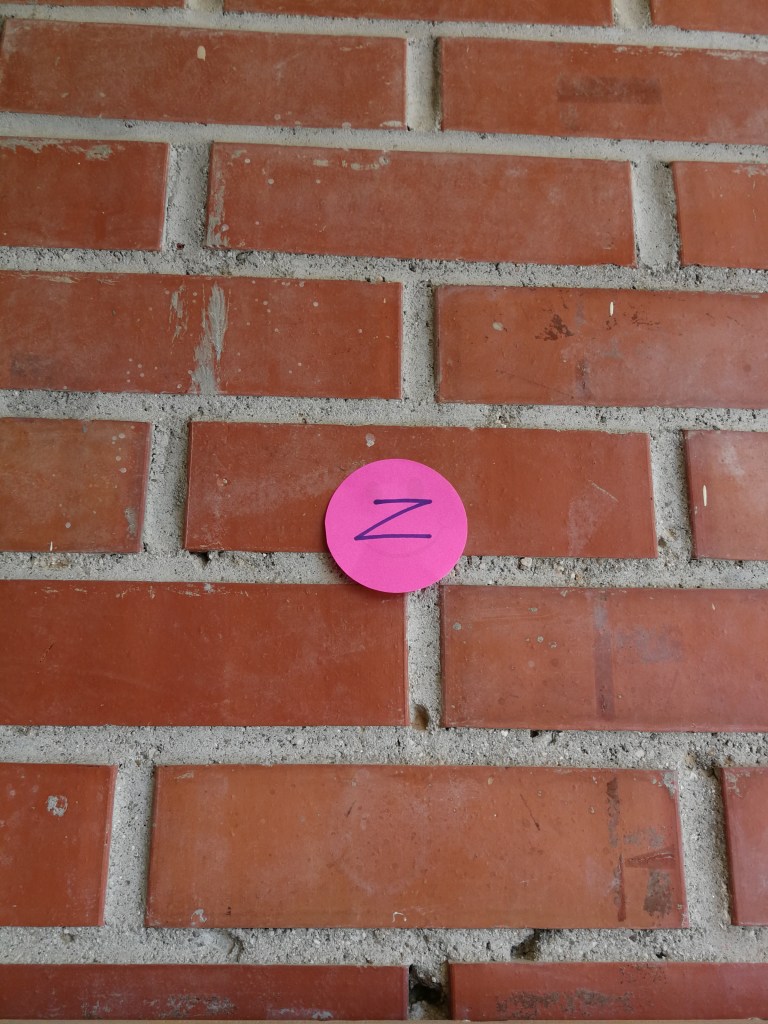
MATERIALS: We wrote the letters and letter combinations on bright colored paper and we used sellotape to tape each paper to a different wall.
TIMING: 50 minutes
TOOLS AND RESOURCES: I recorded the activity with my camera for the students to watch themselves later and try to assess themselves on their strong and weak points.
TEACHER’S ROLE: The teacher monitored the activity, video recorded the student’s participation and kept track of the points.
L.A.’S ROLE: The language assistant has the active role as moderator of the activity and is in charge of choosing and pronouncing the words.
HOW TO PLAY: Before the students can pronounce words correctly, they have to hear them correctly. This game tests how well the students hear what you say.
I gathered the class outside and assigned a sound to each wall. Before playing this pronunciation game, I explained to them the different sounds we were about to practice and gave them some examples of words. I also demonstrated how my mouth changes every time I pronounce a sound. So for the students, it is not only about pronunciation, but it is more so a listening and visual exercise. When we communicate, we put all or most of our senses to work. This is something I really wanted them to see.
How do we play this game? For starters, we must decide on four sounds. For our groups of 6th graders, I decided to focus on similar sounds and those that cause them the most problems when trying to communicate in English. I then labeled each wall with one sound: “s”, “z”, “sh” and “ch”.
I then divided the class into 4 teams of 6 students and told them to first listen to the words carefully as I repeated each word three times. After listening to the words, they had to decide which wall to run to with their teams. The winning team was the one who was able to pick the correct wall the most times.
As expected, there was a bit of a learning curve at first; but as they learned to listen to the pronunciation and to pay attention to the physical cues of communication, more and more teams started to choose the correct walls. In the end, the students learned that the first step to communicating with someone in a foreign language is to listen carefully at what is being said. Secondly, putting your lips a certain way, and placing your tongue a certain way when trying to pronounce a word in another language, can help you achieve the correct pronunciation.
Class Routines: Pronunciation, Vocabulary and Repetition
TOPIC: Pronunciation, Vocabulary, Verb Tenses
OBJECTIVES: Gaining new vocabulary, fluency and a better understanding of the language and proper pronunciation through the repetition of quotes, idioms and tongue twisters.
MATERIALS: Whiteboard to keep track of the answers while we ask.
TIMING: 10-15 minutes
TOOLS AND RESOURCES: Class Dojo Digital Reward System, Power Point
TEACHER’S ROLE: The teacher provides the students with the material each month and awards them Dojo points when they know the routines. The teacher can also help the struggling students by making them remember some parts like a key word in a routine.
L.A.’S ROLE: The language assistant leads the activity by asking the students at random and correcting their pronunciation.
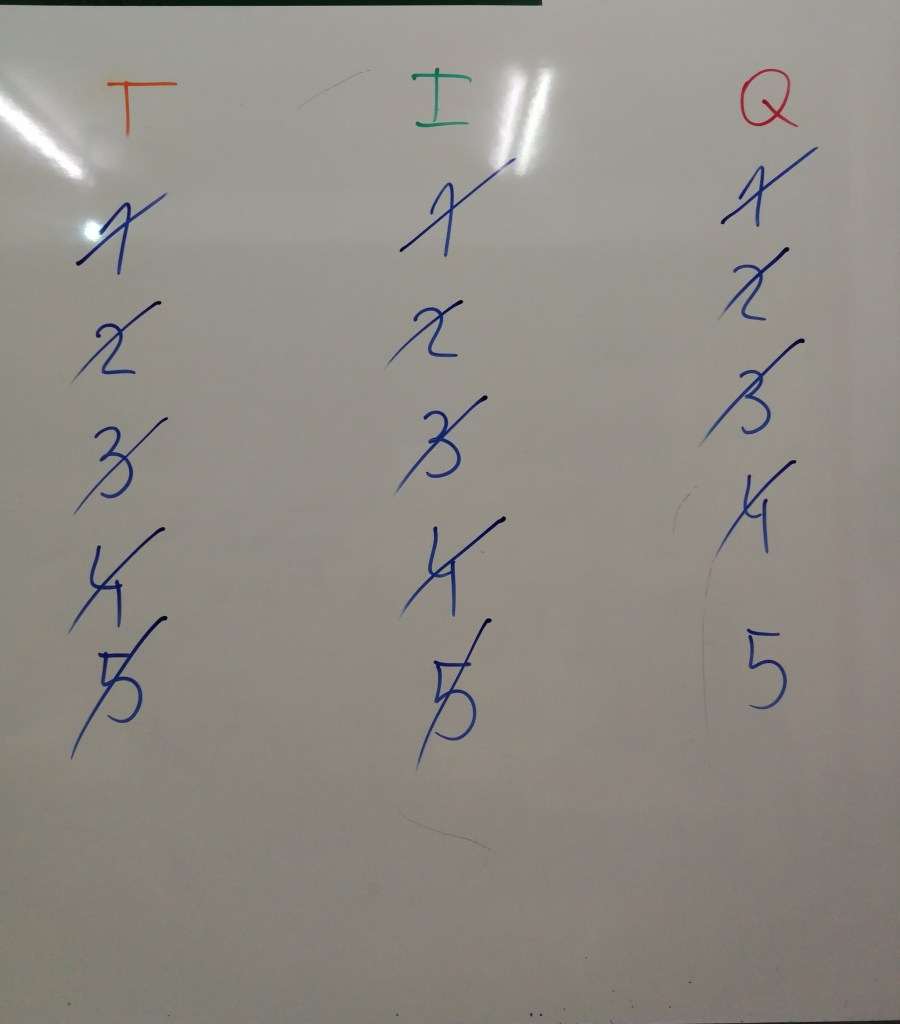
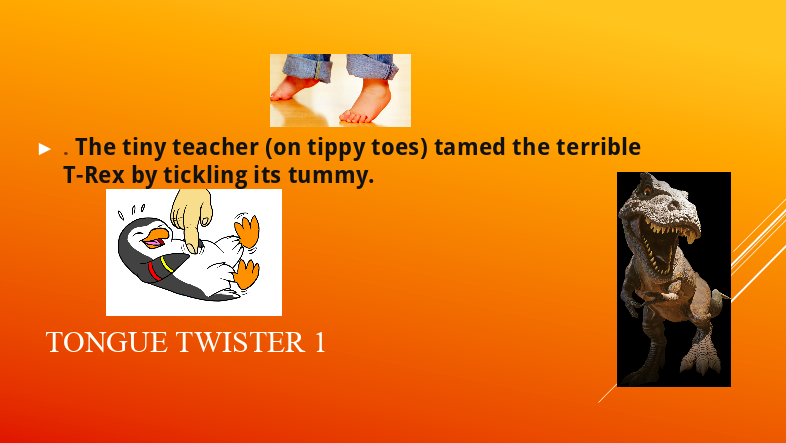
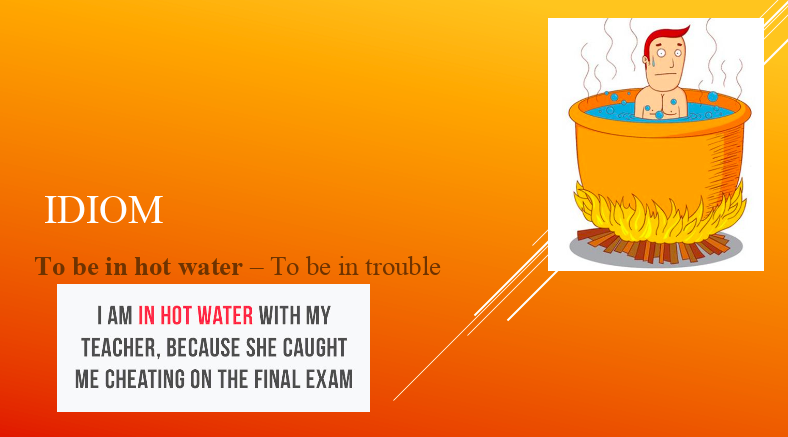
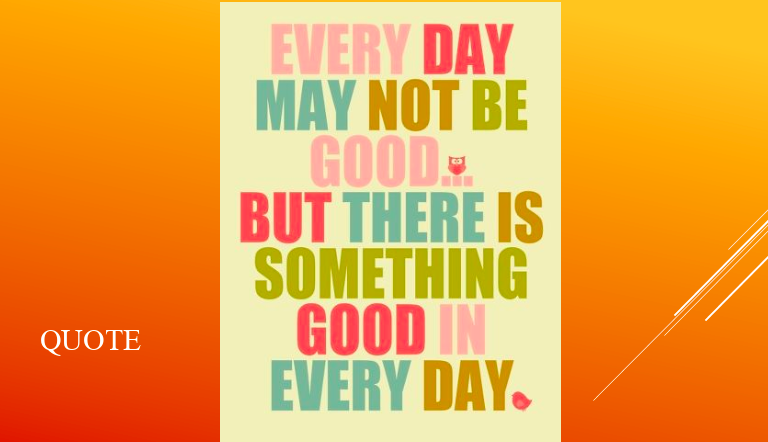
Every day, every lesson with 4th and 6th graders is a day to practice some class routines! Class routines are a series of “Tongue Twisters”, “Idioms”, and “Quotes” provided by teacher Amaia meant to be memorized by the students and practiced in class with me. At the beginning of the school year, the students were provided with a list of tongue twisters, idioms, and quotes for the entire year, and they need to memorize one of each per month.
What happens in class? Well, I start the class by asking students at random for one of the routines. If they answer correctly, we give them two points for participation. We use an online reward system platform called Class Dojo for that matter. If they can’t remember the routines, we then select another student. That way, everyone has the opportunity to win participation points that add to their final grade.
At first, remembering the routines was an easy task for the students, but as the months go by, we keep adding routines to their list and they have to make sure they study every day in case we ask them. These routines are a good exercise for memorization, as they need to remember every single word; analysis since they need to comprehend and extend on the meaning of each phrase or sentence; and pronunciation since these sentence patterns focus on pronunciation and meaning and that pushes them to be aware of how they pronounce words.
Here are some examples of our class routines:
On Our Way to a Better Pronunciation
TOPIC: Pronunciation, Verb Tenses
OBJECTIVES: By the end of this exercise the students should be able to distinguish between similar sounding words and identify verb tenses by the way they are pronounced.
MATERIALS: We gave each student a handout with a “verb-map” that would lead them to different cities.
TIMING: 5 minutes per round
TOOLS AND RESOURCES: Game, digital board and projector
TEACHER’S ROLE: The teacher keeps track of the pronounced route and checks for student’s progress.
L.A.’S ROLE: The language assistant explains and moderates the game and starts by teaching the correct pronunciation for each word and leading the way the first time to demonstrate for the students.
This is one of the activities used with both 6th and 5th graders to help the students in improve their listening and pronunciation skills. The purpose of this activity is to help the students differentiate between verb tenses of the same word that sound similar.
Before each practice, I pronounced each word and made the students repeat after me several times, so they could listen to the pronunciation and try to imitate my pronunciation. Teaching them of the position of the lips and tongue when pronouncing a word, is also important. After that demonstration time, the class is divided into pairs and each pair had a private session with me outside the classroom.
Working this type of activity in pairs is an effective way of catering for the student’s needs because I am able to listen to the student pronounce individually as opposed to group repetition. At first, we practiced doing this activity with the entire group, making some students pronounce the words in front of the class. When working in pairs, I would demonstrate first and then have each student lead the activity twice.
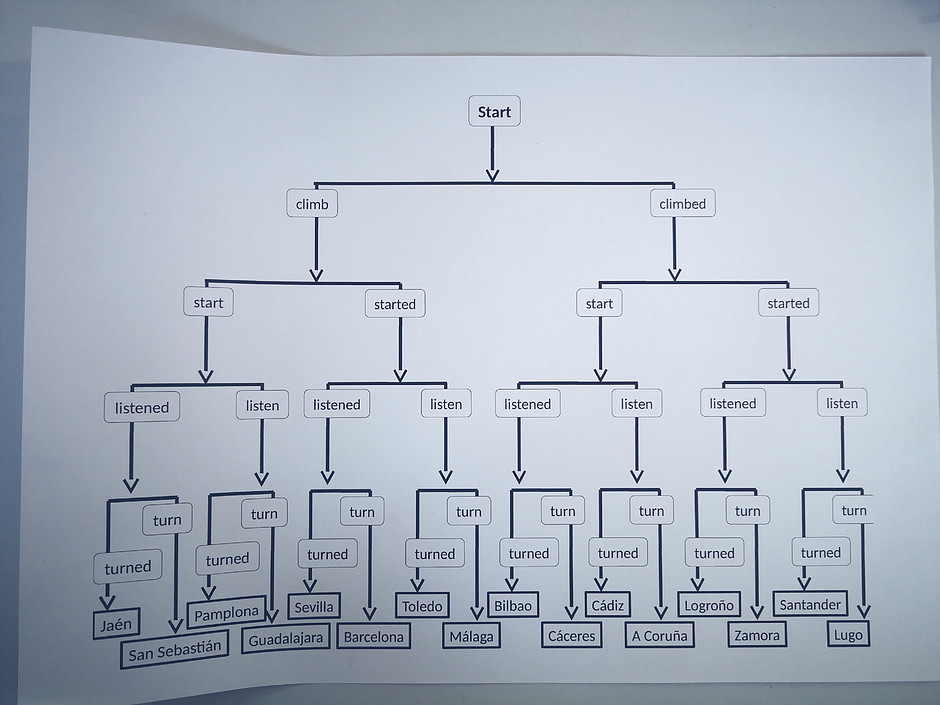
HOW TO PLAY: The purpose of this activity is both to practice listening as it is to practice pronunciation. Every participant starts by listening to another person pronounce a verb until they get to a city. In the end, every person needs to reveal the city they are at, to see if they followed the correct path.
What I observed when doing this activity with the students, is that most find it difficult to differentiate between the words “turned” and “turn”, and “listened” and “listen”. To help them tell the difference, we practiced synthetic phonics and paid special attention to the positioning of the lips and tongue.
The words we used for this activity were: climb – climbed, start – started, listened – listen, and turned – turn. Of course, more combinations can be made depending on the group’s needs.
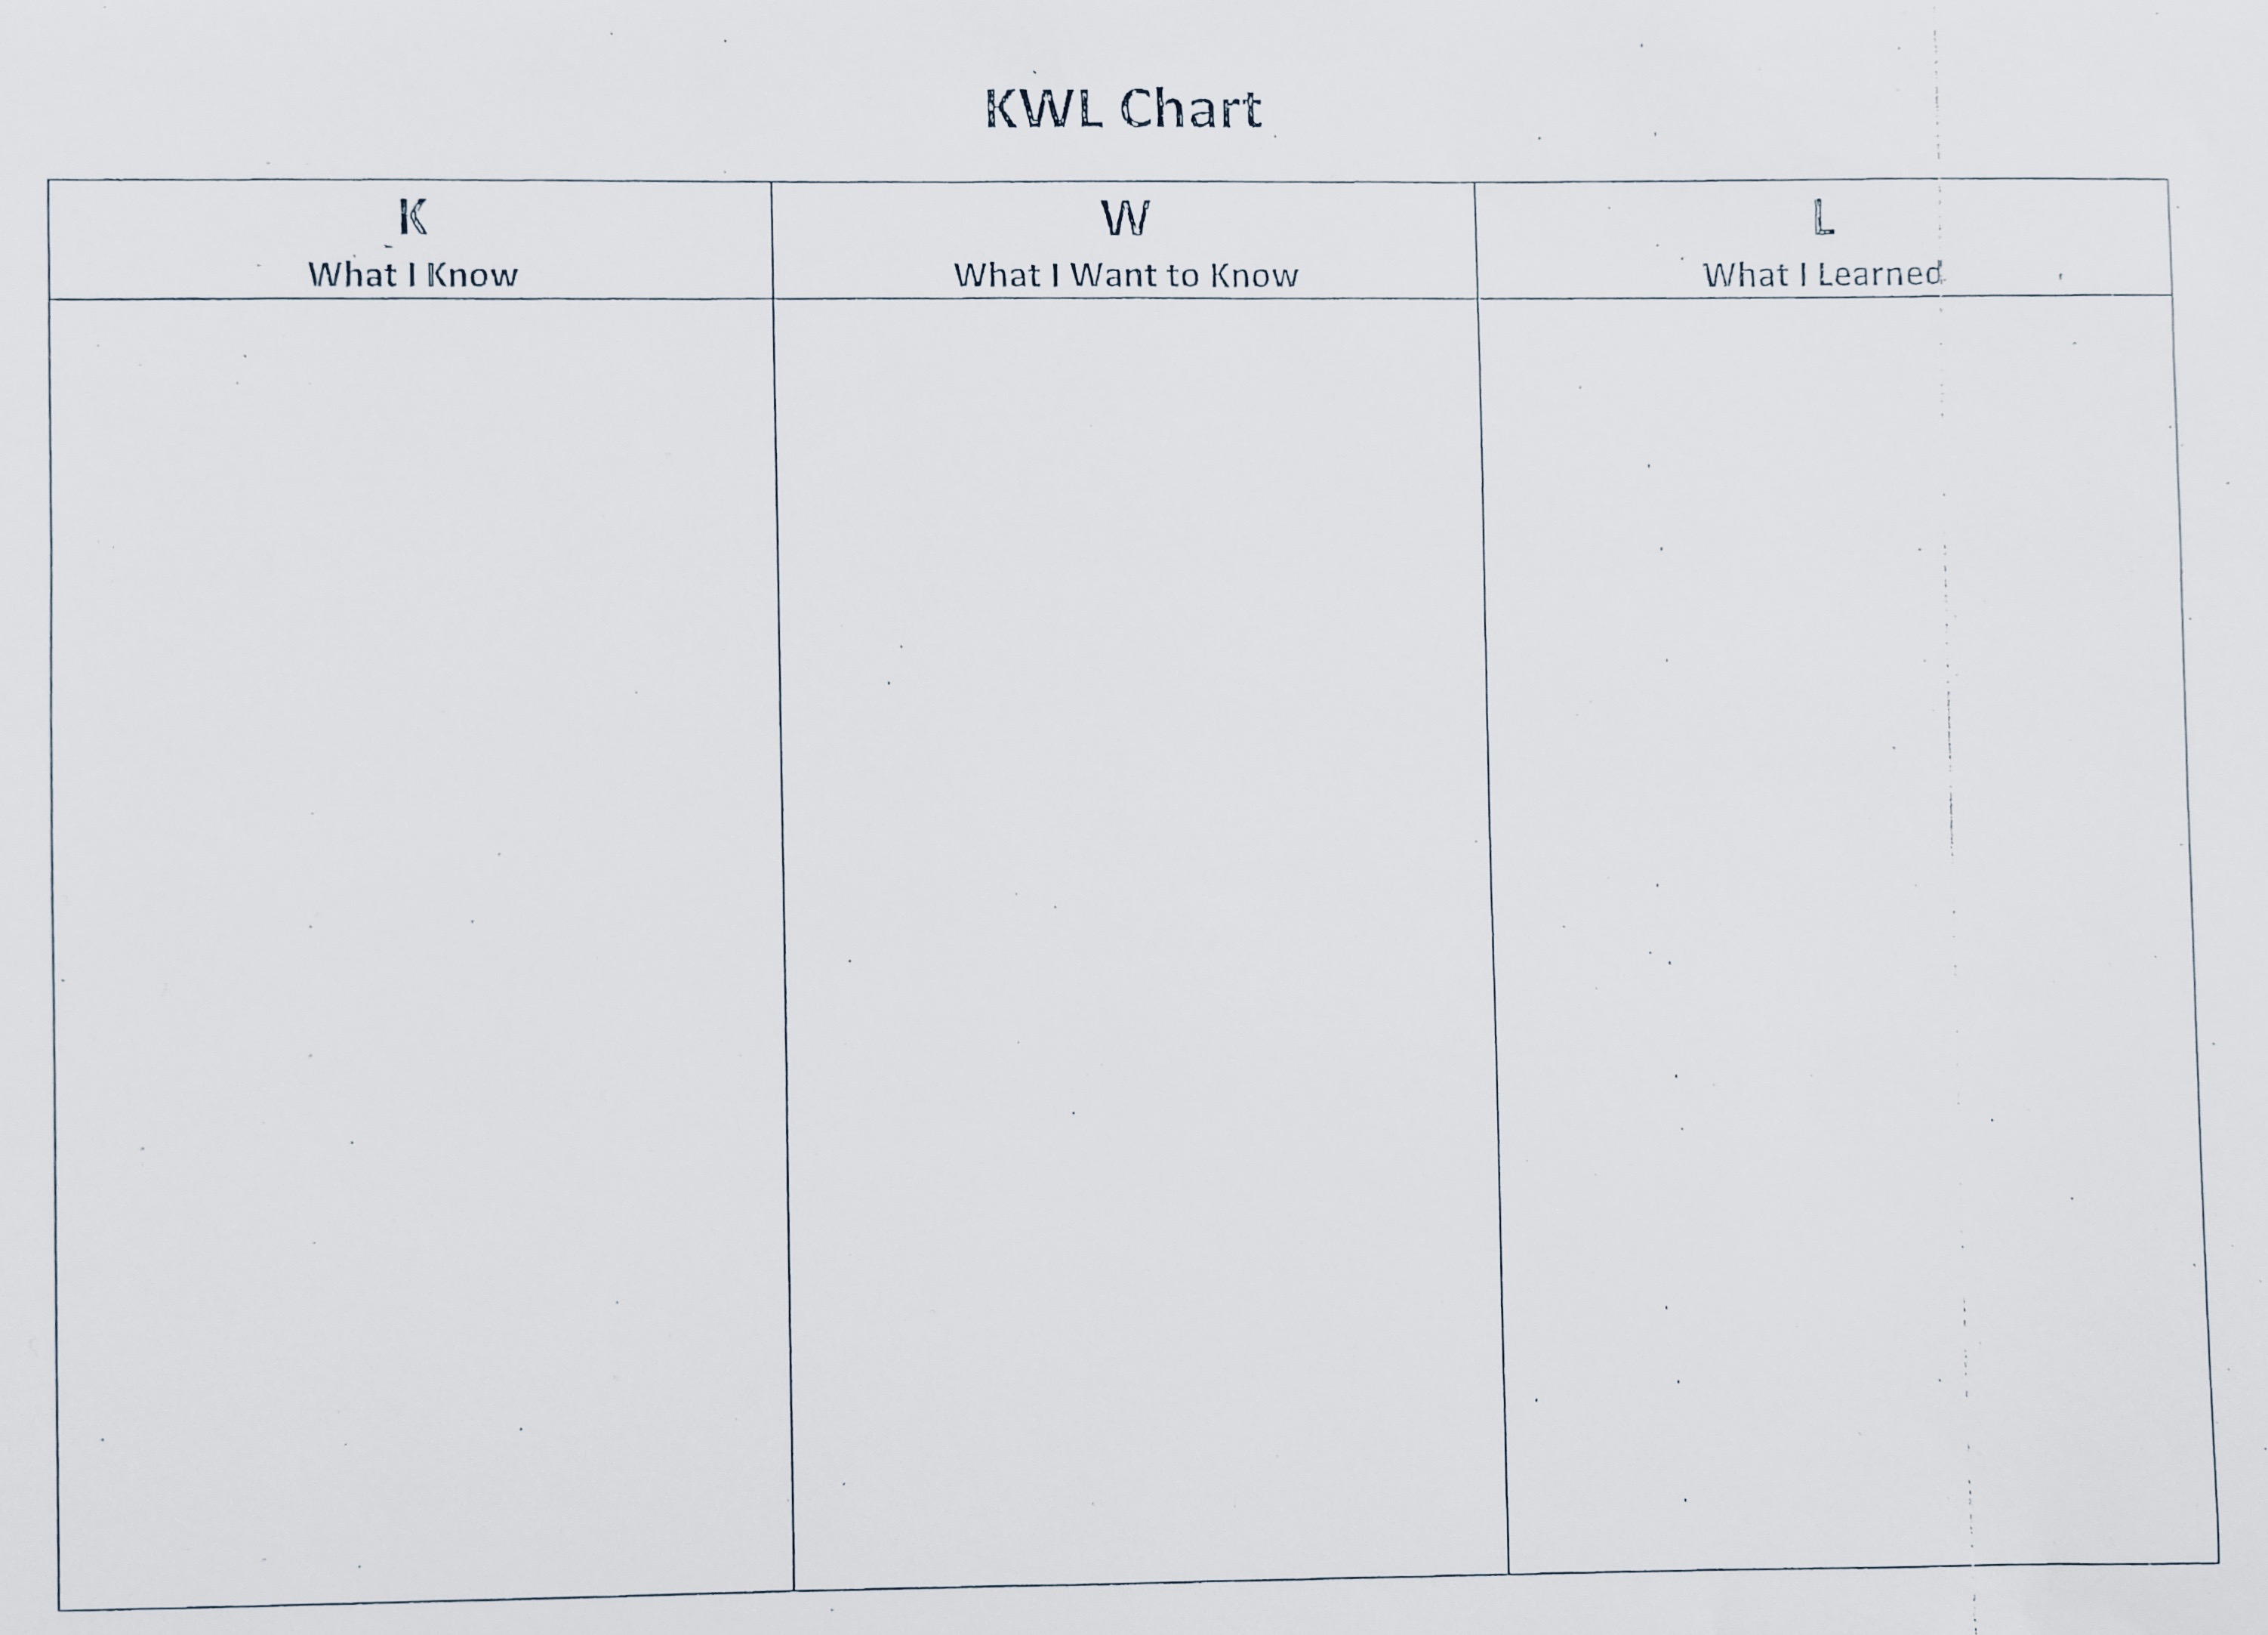
The KWL Chart
The first thing a student should do before starting a new lesson unit, is to check the knowledge he or she has already about the new topic of discussion. This way, it is easy for this student to get familiar with the new concepts and for the teacher to have a base from which to start. The KWL Chart comes handy for that!
TOPIC: Can be used for any school subject, we use it for English, Social and Natural Sciences
OBJECTIVES: For the students to keep track of all the newly acquired vocabulary and concepts and use it to both spark their curiosity into learning new things, and help them gain the confidence to be more fluent and to communicate in an effectice way .
MATERIALS: KWL chart handout
TIMING: 15 minutes
TOOLS AND RESOURCES: We use the digital class book, digital board and a presentation to review past lessons and introduce the new ones.
TEACHER’S ROLE: The teacher reviews old content and introduces new content after the students finish filling in the chart.
L.A.’S ROLE: The language assistant helps the student communicate their ideas orally when it is their time to present what they have written in the chart.
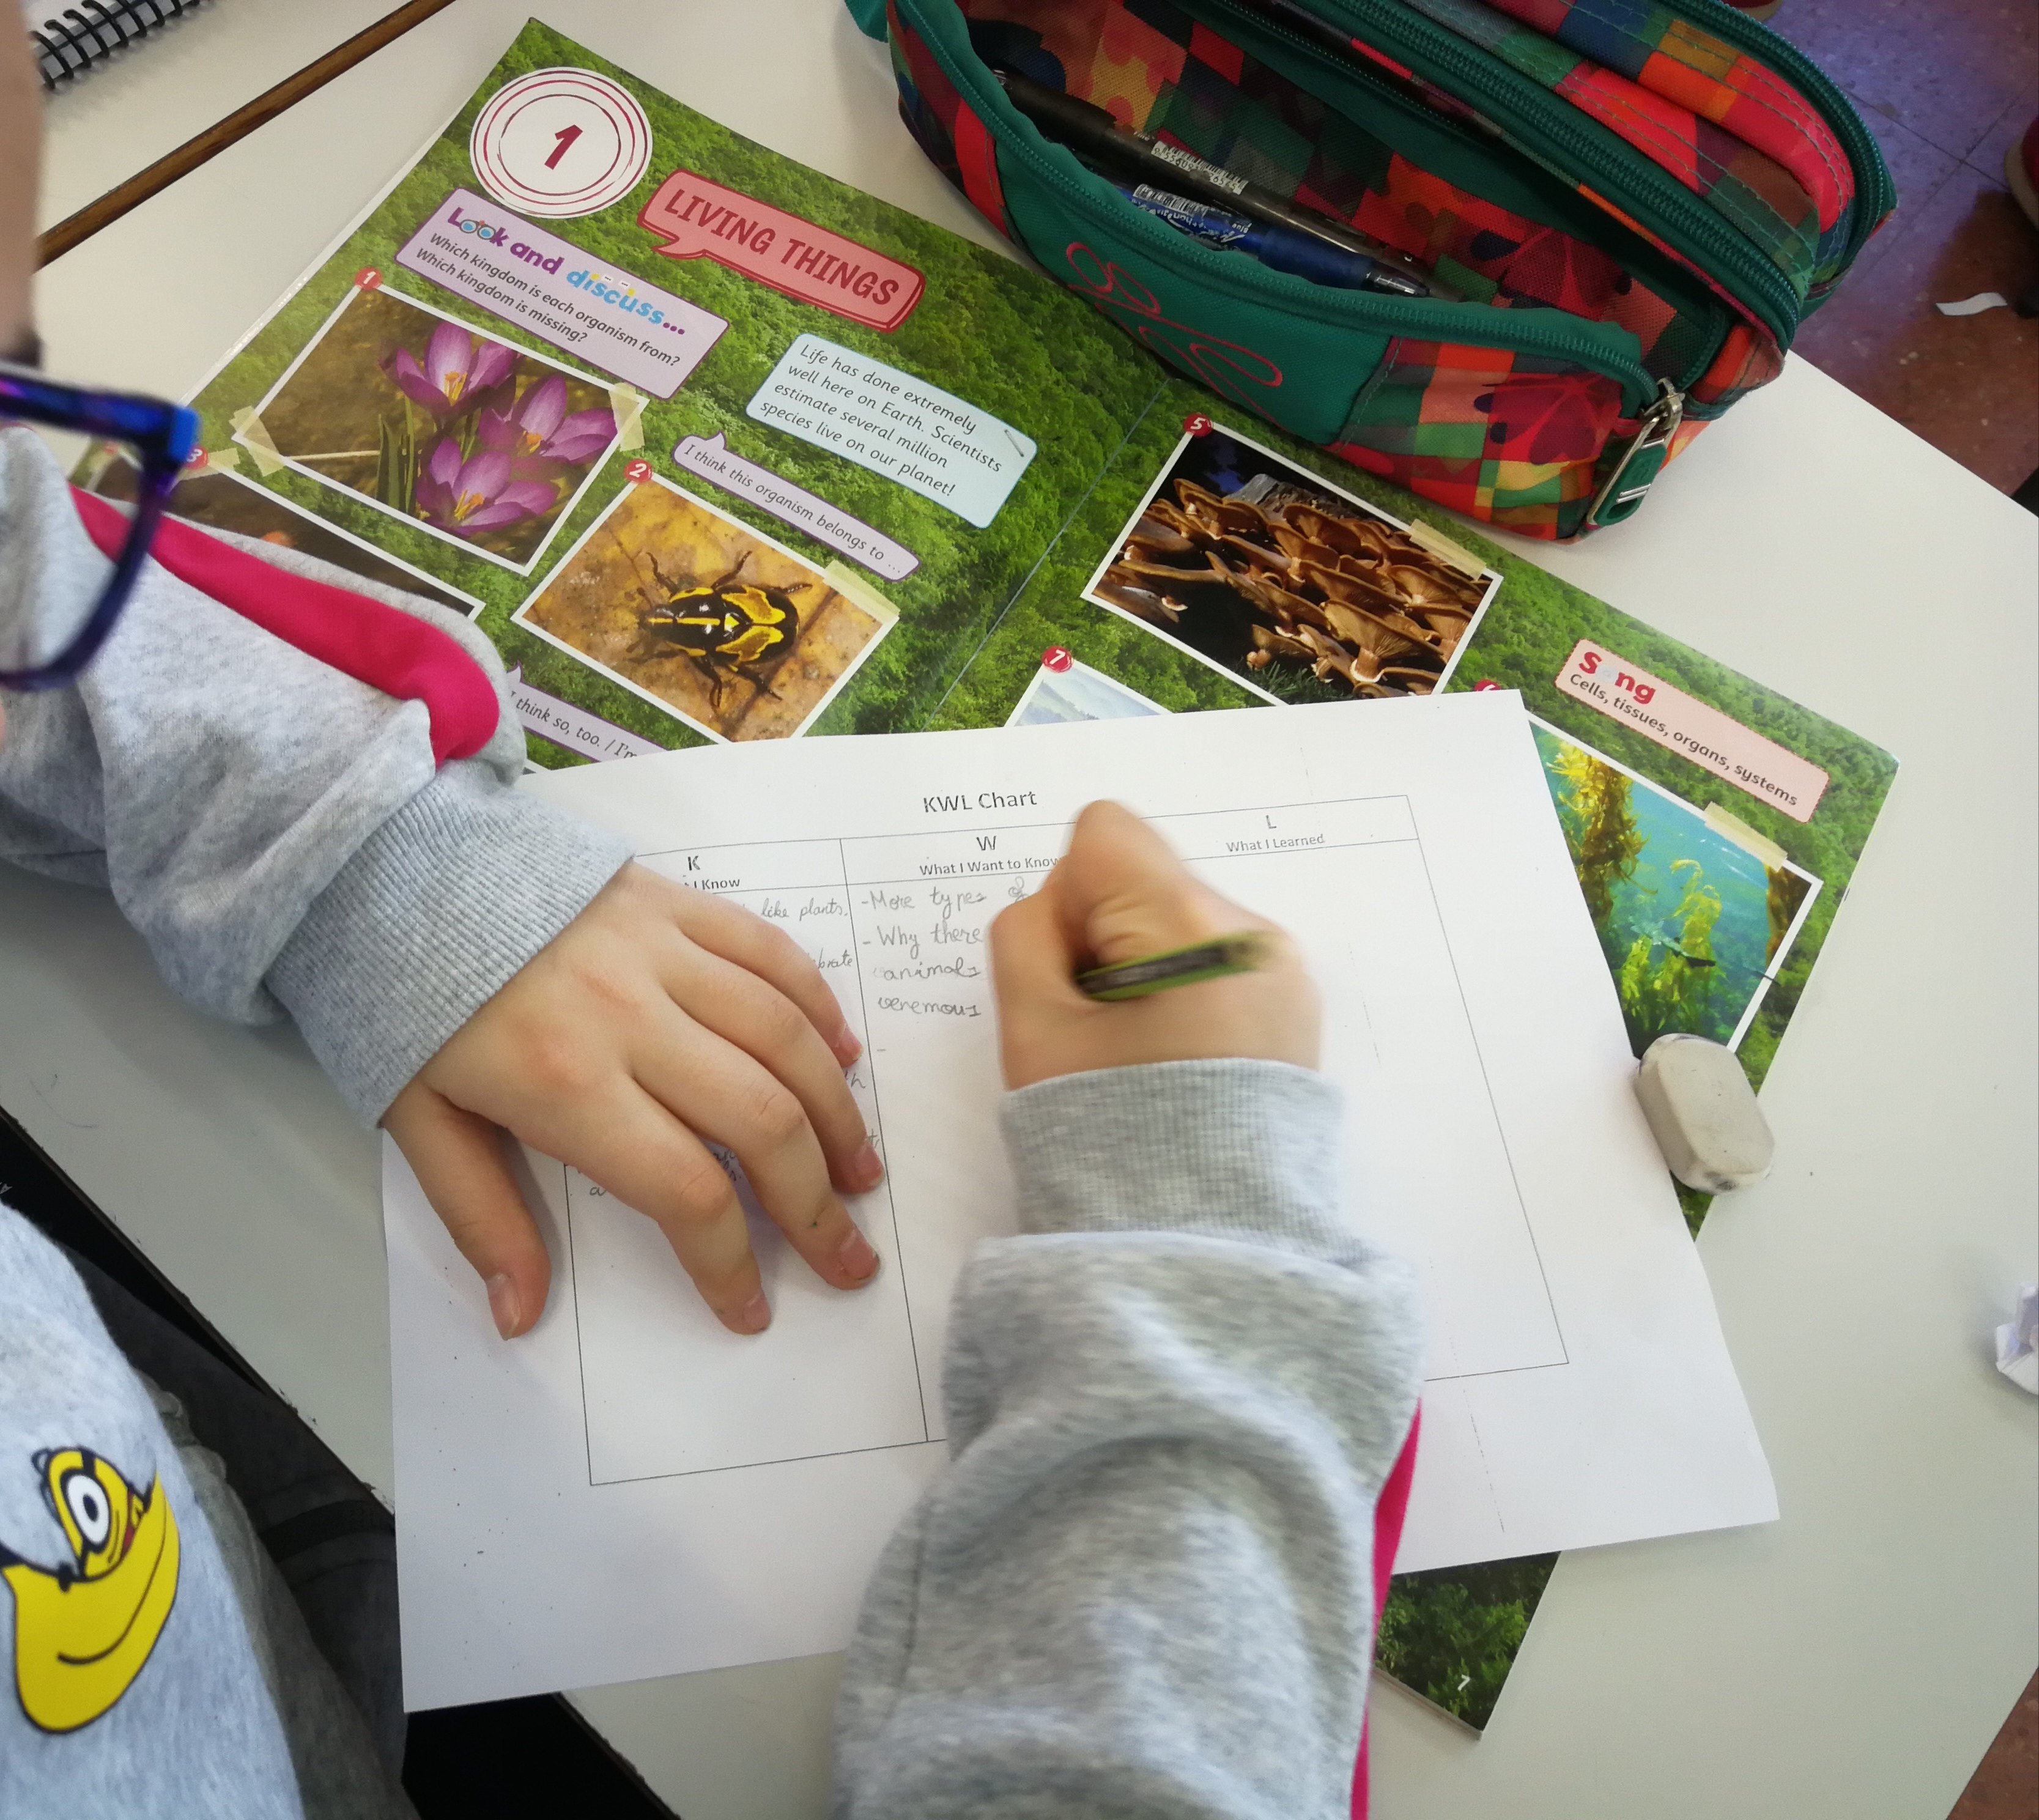
The KWL Chart is filled by our students before and after the start of every new unit. The first two columns are completed the day we start a new unit, and the last column is completed before the students take the test for that unit. The format is very simple, and it gives us an opportunity to both introduce and clear up some preconceived ideas about the new topics.
WHAT I KNOW
In this column, the student is supposed to write as many sentences as he or she can about the new topic of discussion. This is the part where they can either test their knowledge and general culture or review what they learned in previous units. For the teachers, it lets us know if the student really understands the newly introduced vocabulary, and it gives us an idea of how we can adapt or extend on the lesson for the students.
WHAT I WANT TO KNOW
The “What I want to know” column is the most interesting and fun to discuss in my opinion. Here, the students write questions about the things they wish to learn more about. Some of the questions they come up with are in tune with what they will eventually learn, but sometimes the students can ask very existential questions. This is amazing because it allows for the student to explore their creativity and curiosity, as it tells us more about their personalities and likes. I love discussing this part of the activity with my students because they are able to come up with really intelligent and interesting questions that help me bond with them; and sometimes these questions are things that I have never thought about and they therefore give me a new perspective on the subject!
WHAT I LEARNED
This is the part where the students are supposed to write down everything they have learned throught the unit. It is done at the end of every unit and it is also a way for them to review for their unit exam.
The KWL chart is a great way to have the students organize their thoughts and assimilate the newly acquired vocabulary and concepts!
Tricks and Tricks to teach English on Holloween
TOPIC: Holiday, Halloween, Pronunciation, Vocabulary
OBJECTIVES: The students should be able to use descriptive language and known vocabulary to choose a door and describe what they found behind it.
TIMING: 40 minutes
TEACHER’S ROLE: The teachers are in charge or organizing the groups and controlling the pace of the activity.
L.A.’S ROLE: The language assistant prepares the material, organizes and leads the activity.
Halloween was in October, and as we’ve been teaching our students about some of our American traditions, we want to celebrate it with them in our school!
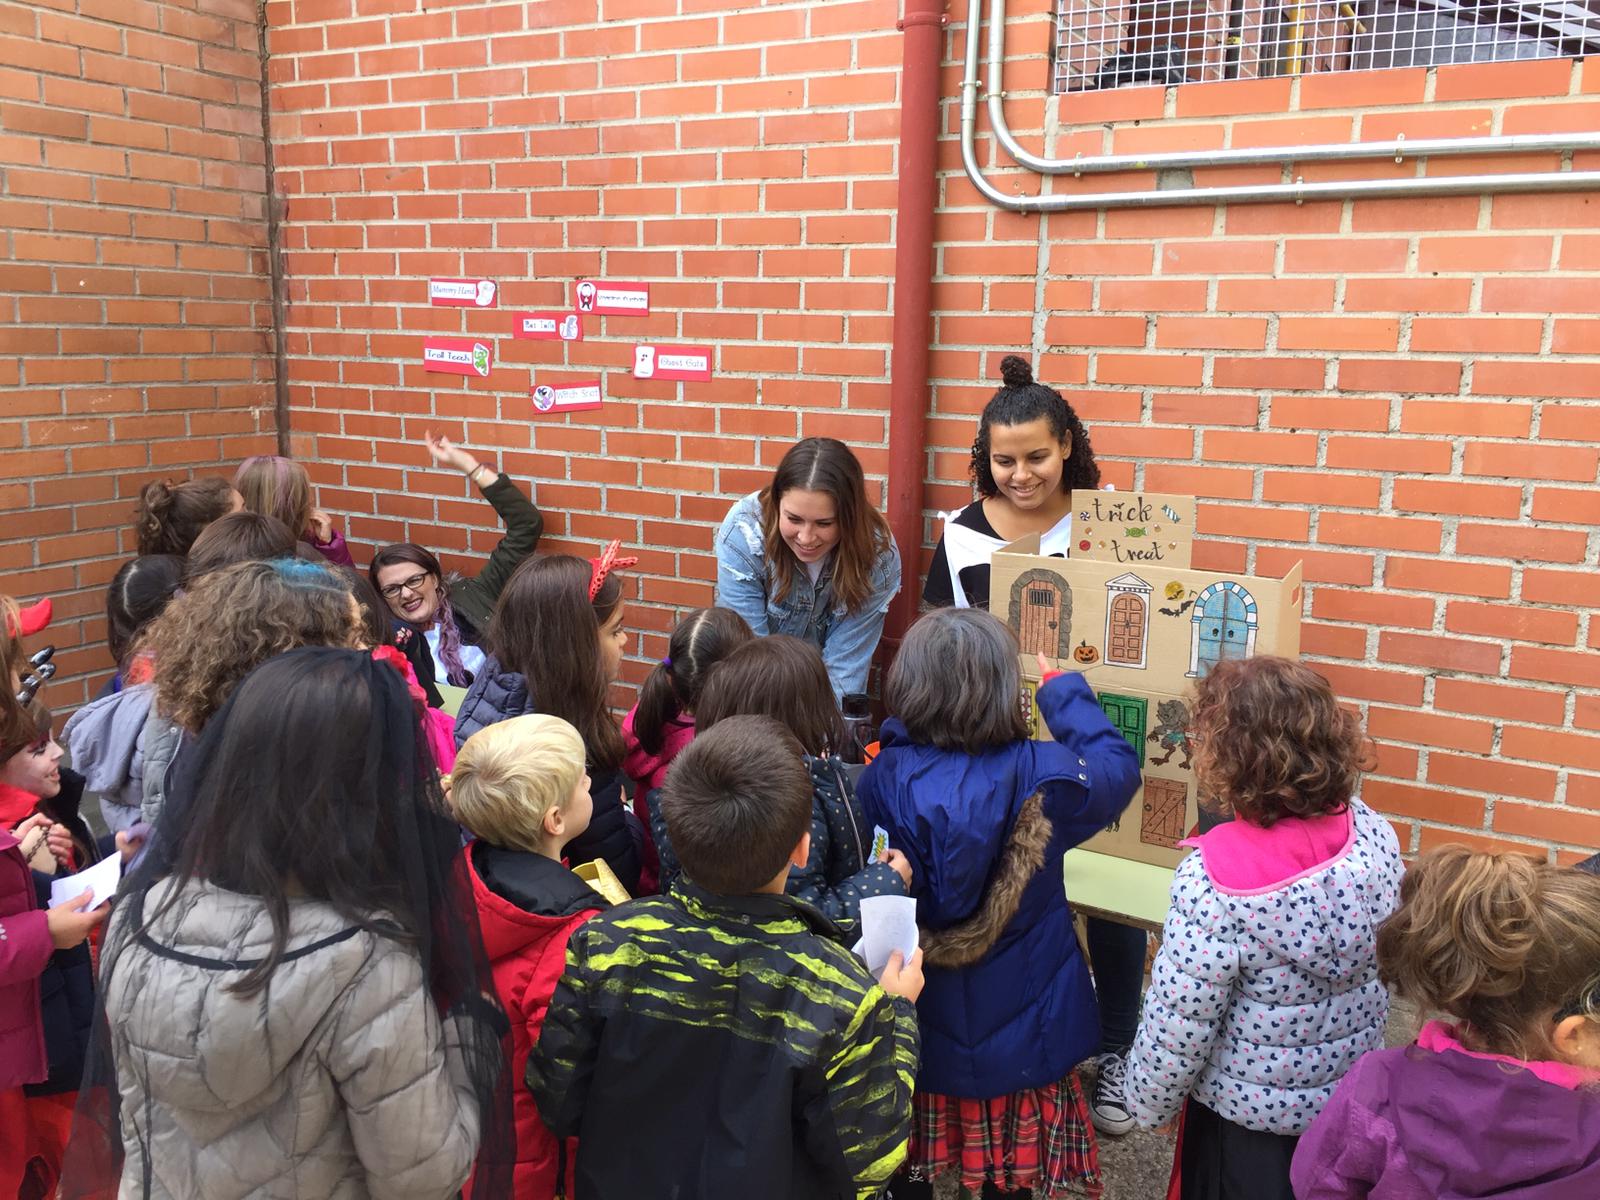
As it turns out, our school has been celebrating this Autumn festival for the past years, and everyone in the school participates. How is it celebrated here? After lunch time, at 2 o’clock, everyone gathers outside and some of the classes, like the 5th and 6th graders, prepare stations for the other students. Teachers and parents can also set up stations. The parents for example, have a chestnut station where they roast and give out chestnuts to everyone. This year, the 6th graders created a haunted house inside the gym and that was probably the most popular attraction of the day. As for us, language assistants, we were in charge of two stations: a mystery box where the students had to guess what was inside using descriptive language, and a trick or treat experience I created for them!
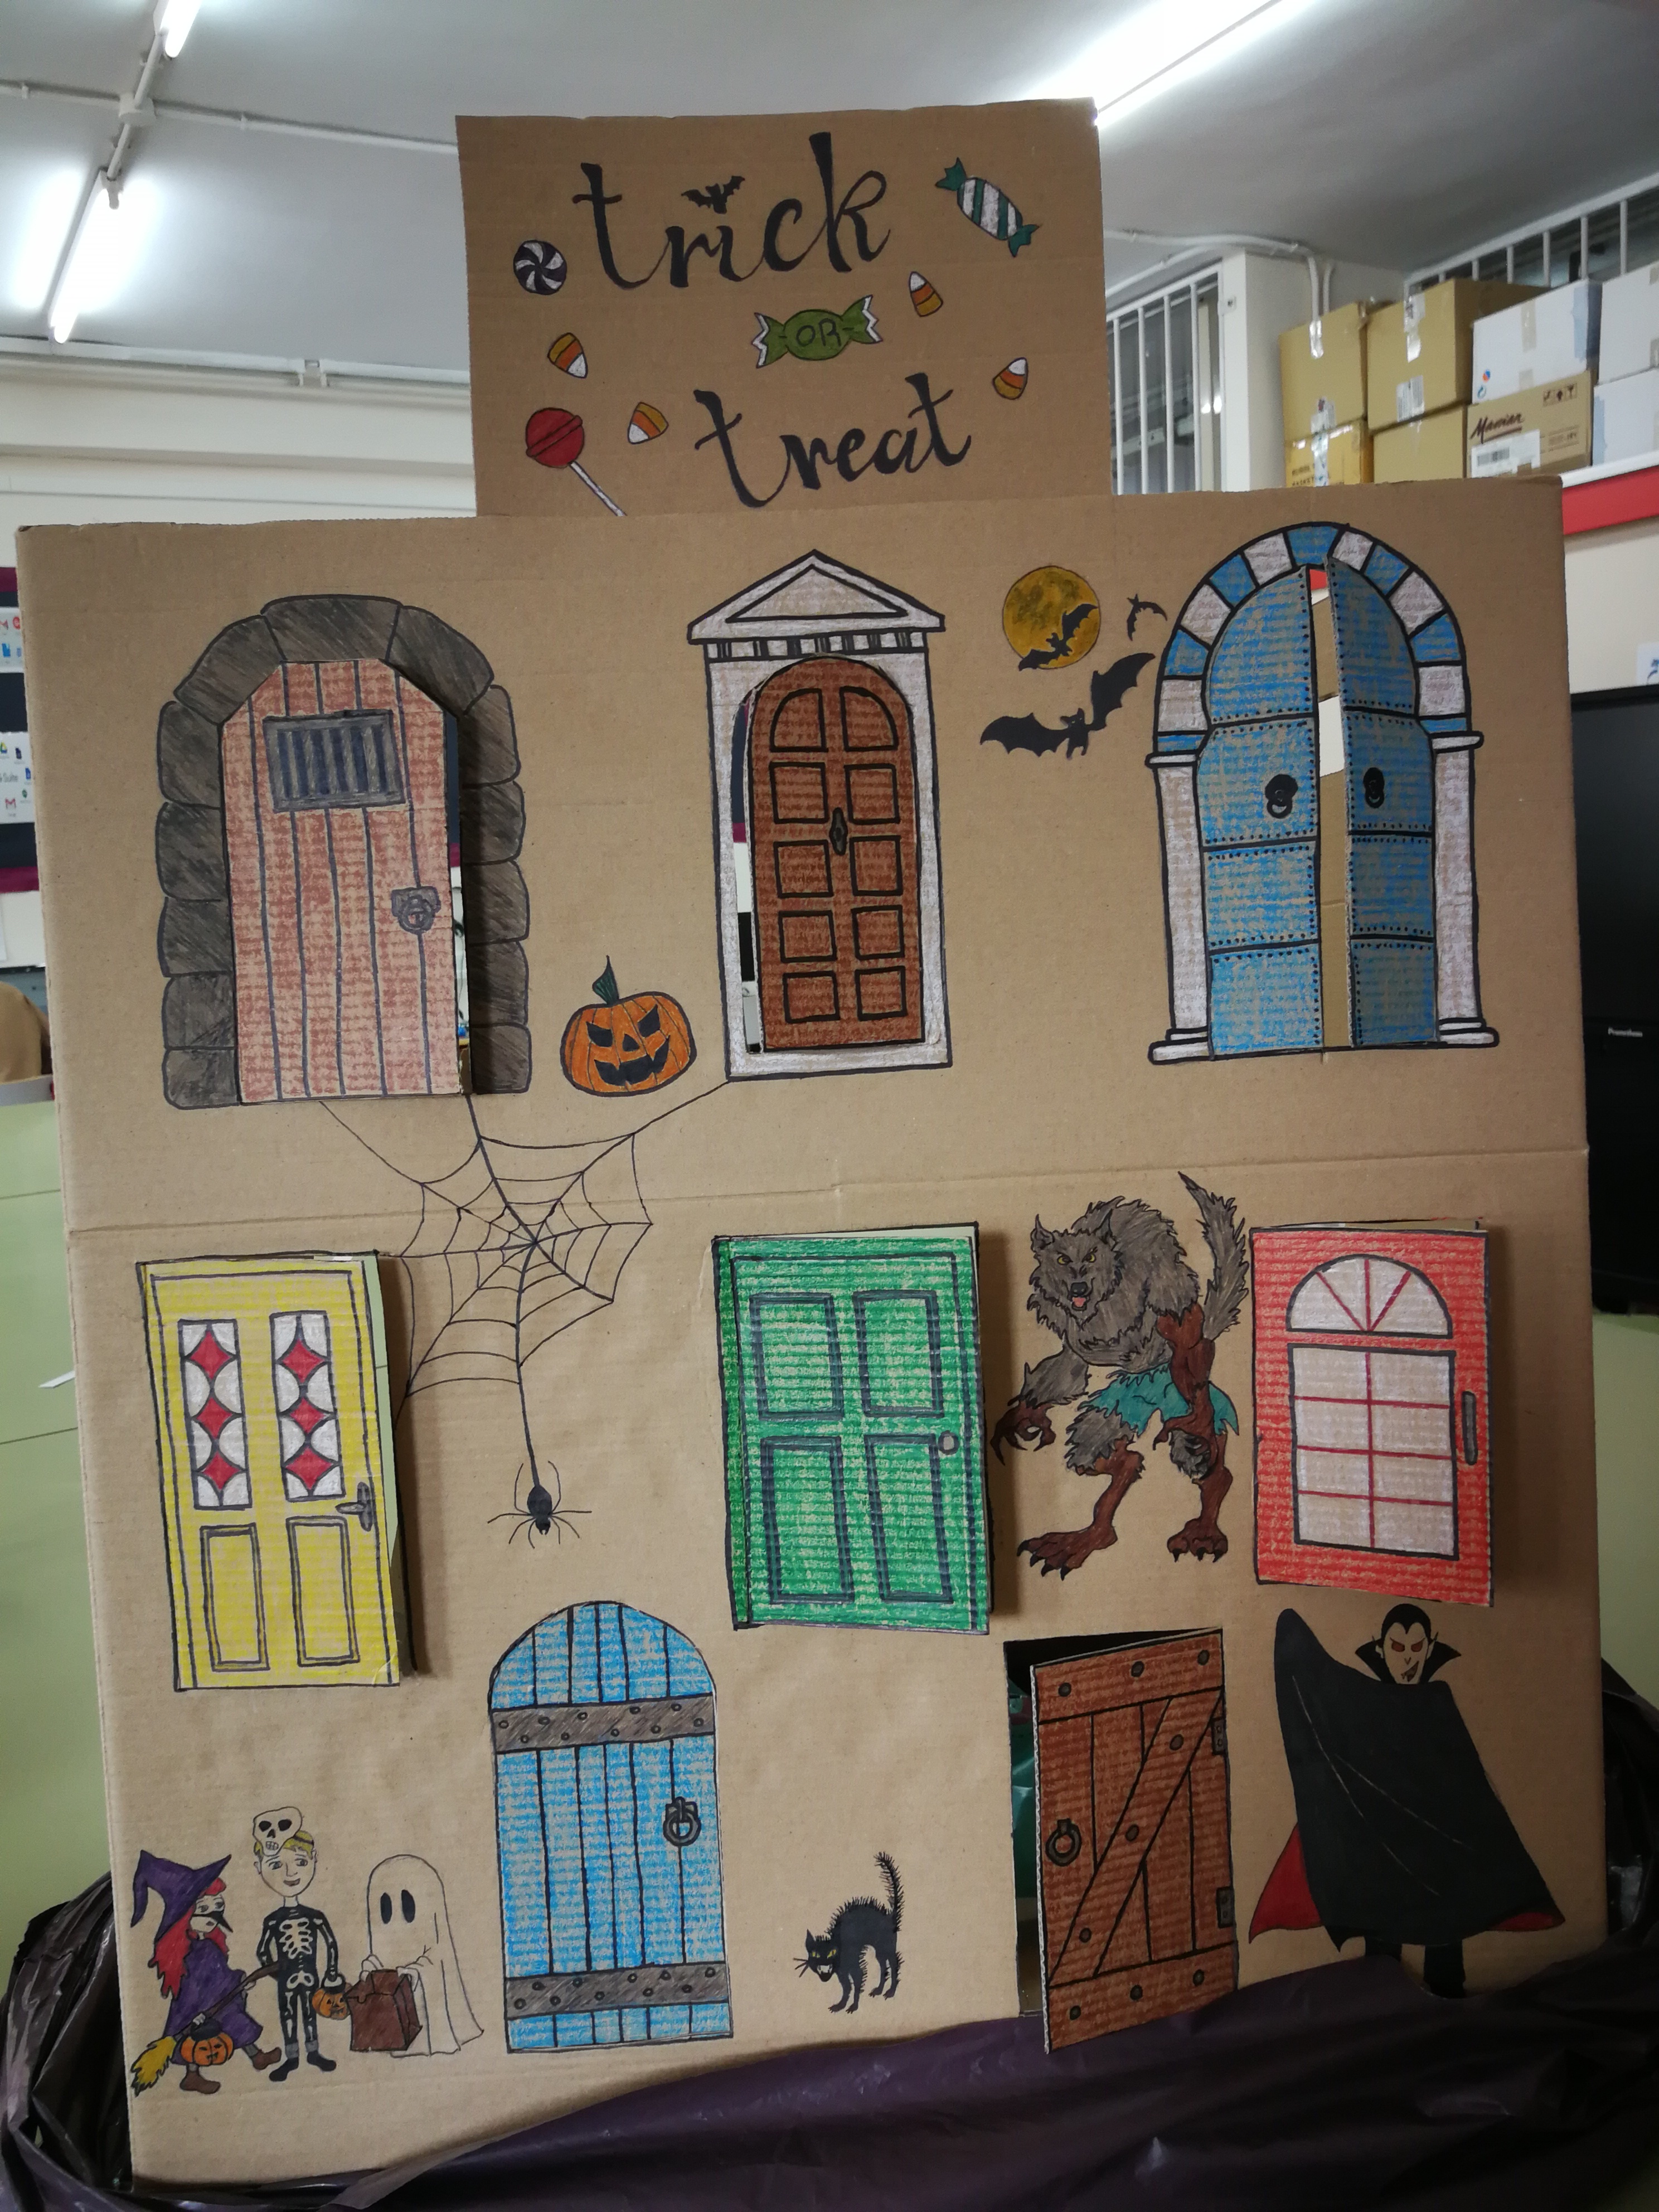
For this activity, I created a Halloween themed apartment building with different doors that could be opened to reveal a surprise. Instead of taking the kids from house to house during Halloween night, I provided them with a small scale model of a residential building where they could experience this Halloween tradition in a different way.
MATERIALS: To make the building, I used a large cardboard box, a cutter, some crayons and color markers, a hot glue gun and a lot of creativity. For the surprises, I bought a bag of assorted gluten-free candy, and some random small toys and stickers.
DIY: (1) On the bottom of the cardboard box (or the tallest or widest part of the box) draw and color different types of doors and decorate the remaining areas of the box with Halloween creatures and decorations. (2)Using a cutter, cut three sides of each door, including the top and bottom part, and leave one side intact to open and close the door. (4) Use the upper part of the box, or lid, to create a stand for your building and cut out some cardboard strips with the remaining material. (5) Fold the strips into three pieces, and paste them with hot glue to the bottom back part of each door. This should make for a little “floor space” behind every door, that will let you hold candy or little toys.
HOW TO PLAY: Close all the doors and put candy or toys behind each of them. Make sure the students can’t see what you are putting behind the doors and ask them to say “Trick or treat!” and choose a door. Open their chosen door to reveal the surprise. Every child must then describe what they found behind the door and decide if it is a trick or a treat!
The kids loved this activity and were able to have fun as they practiced English vocabulary!
Using Our Five Senses
TOPIC: Descriptive language, the five senses
OBJECTIVES: Practice descriptive language and vocabulary words while using specific sentence patterns and appealing to different learning styles.
MATERIALS: Blindfold, a log of wood, food (milk, chocolate, salt, vinegar), yo-yo, scented candle, sand, a plastic bag, and a rattle.
TIMING: 5-8 minutes per student.
TOOLS AND RESOURCES: Classroom Activity
TEACHER’S ROLE: The teacher moderates the activity by choosing pairs of students and guiding them through the activity.
L.A.’S ROLE: The language assistant corrects pronunciation, helps the students use the correct sentence patterns and provides and explains new words the students can use to describe different things.
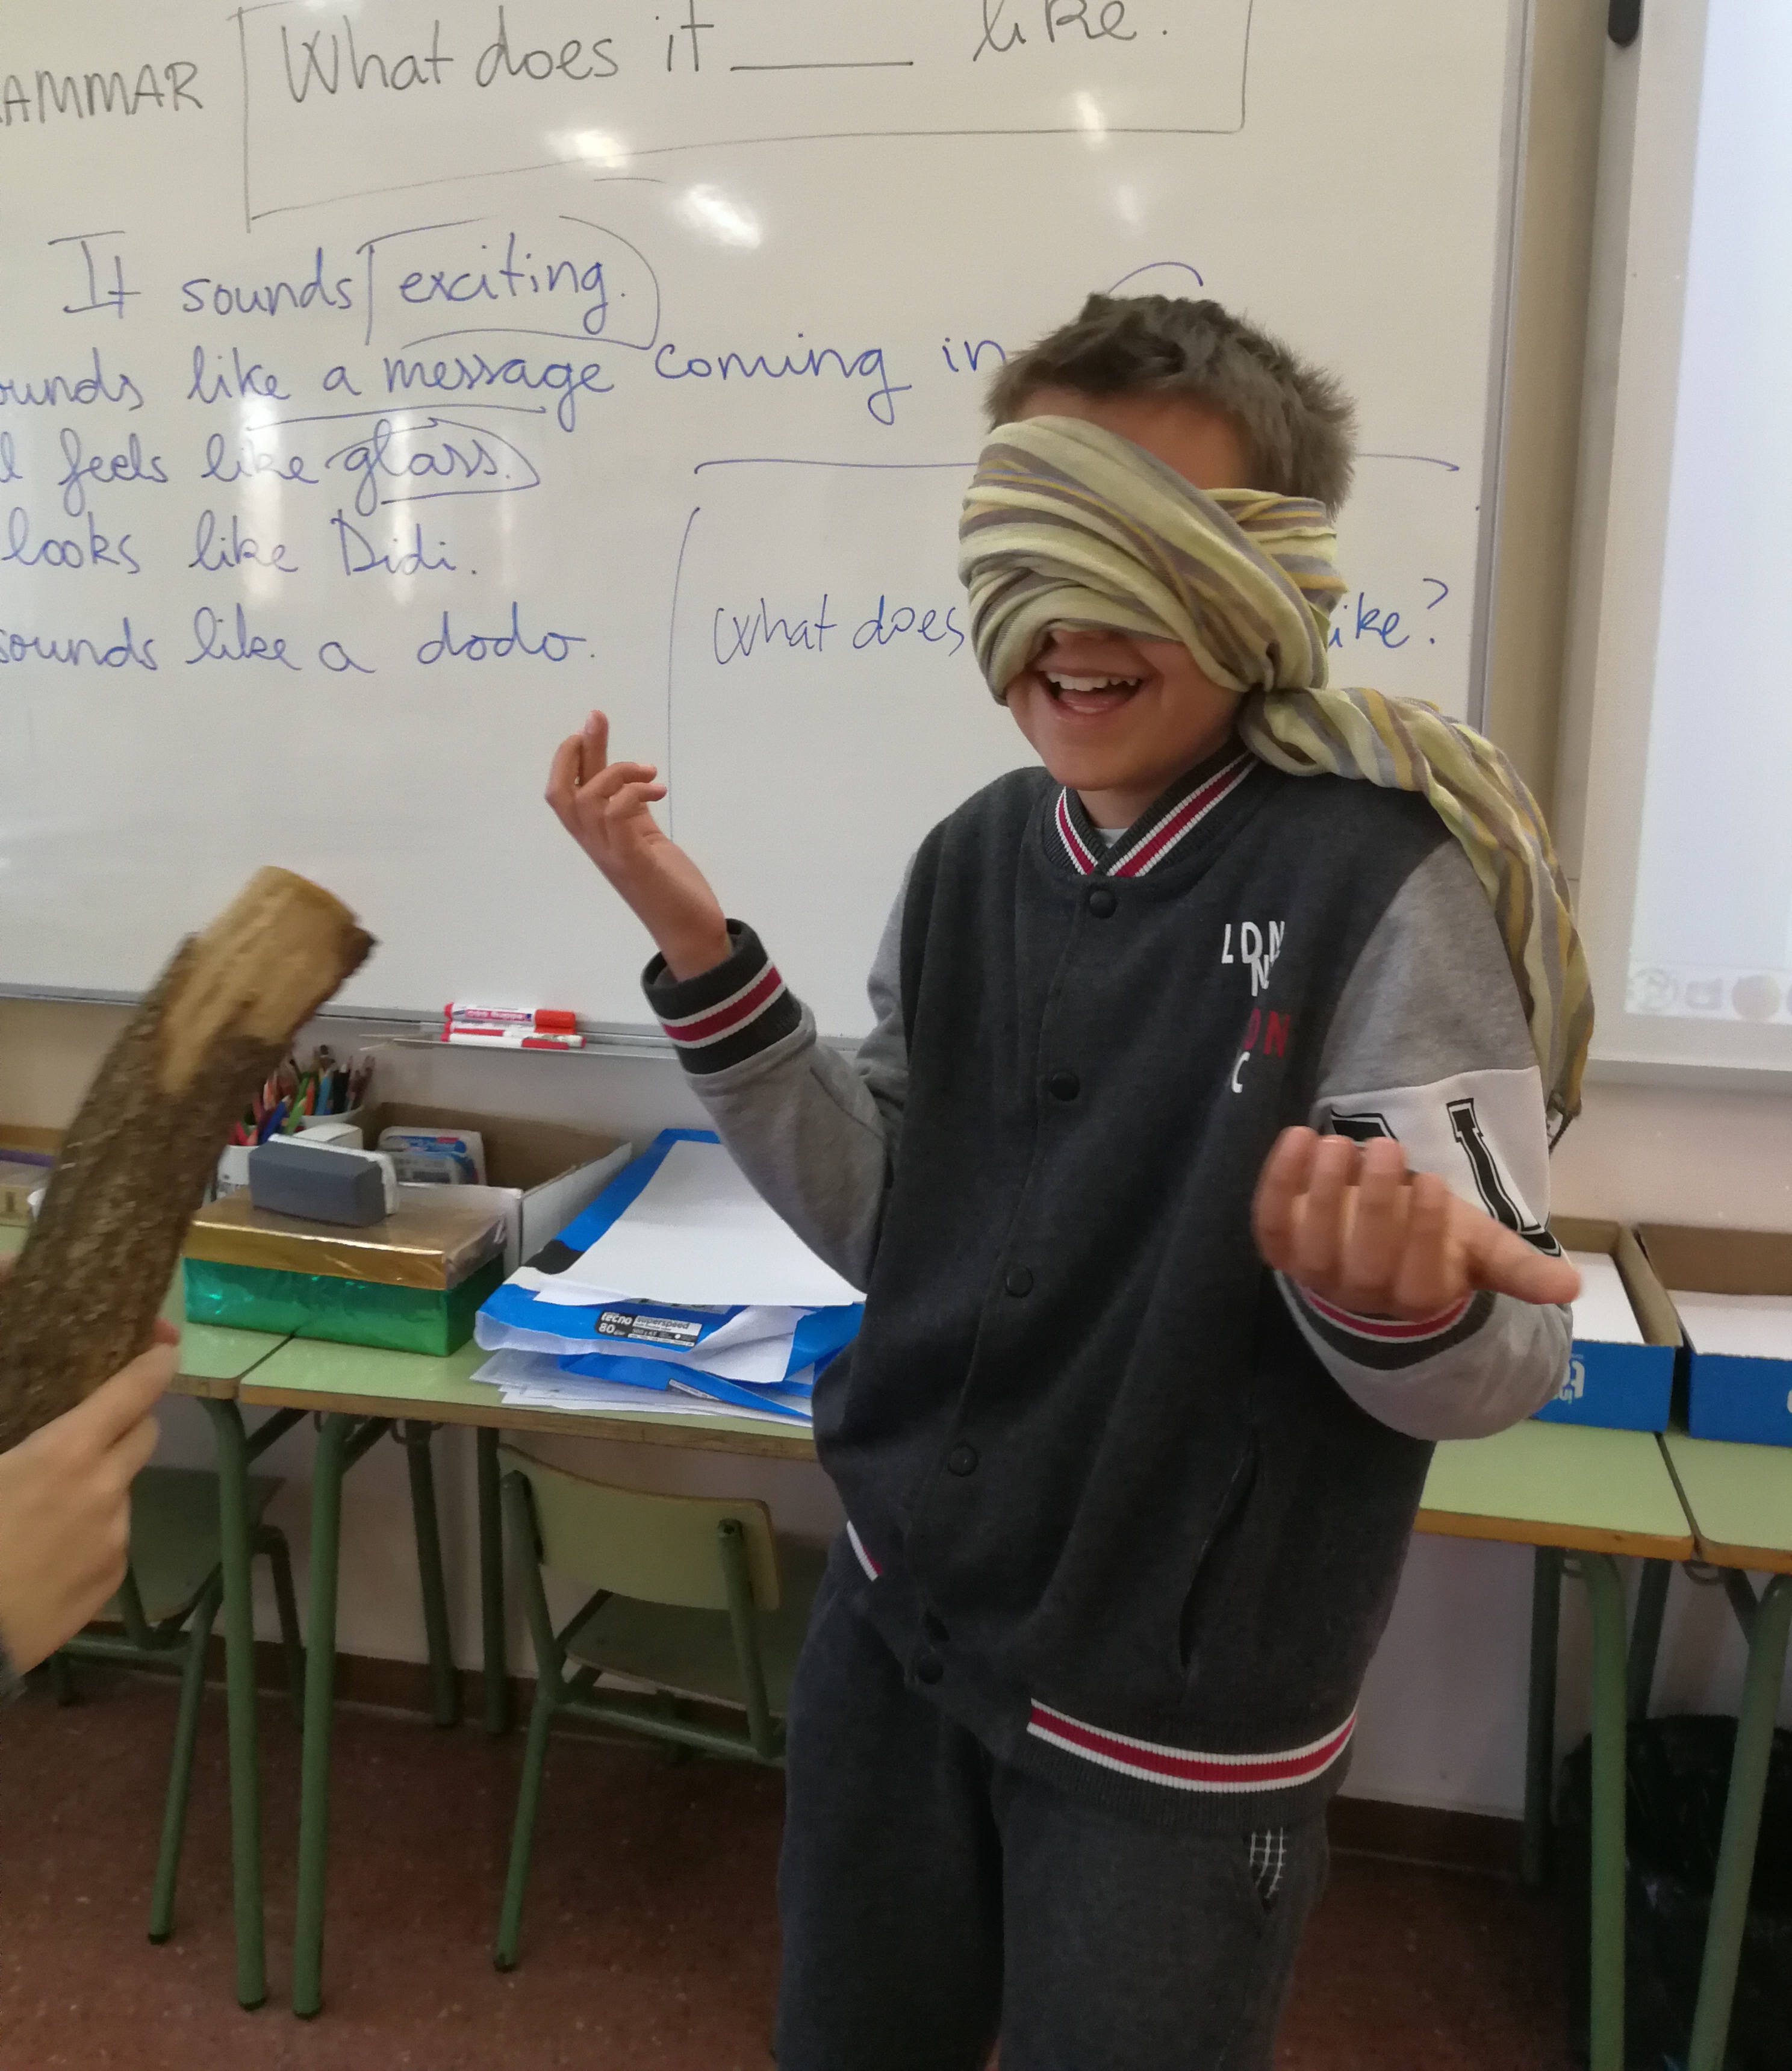
INSTRUCTIONS: Two students are selected by the teacher to describe or ask about a sensorial experience. The first student picks an object from a mystery box and the second student (who is blindfolded) needs to answer the questions asked about the object using the correct sentence pattern and using descriptive language. The sentence patterns used were: “What does it (taste, smell, look, feel, sound) like?” and It (sounds, smells, looks, feels, tastes) like______?”.
Suffix Blockbuster
TOPIC: Suffixes, Pronunciation, Vocabulary
OBJECTIVES: To practice creating words with suffixes, review meaning and vocabulary, practice pronunciation and encourage team work.
MATERIALS: List of suffixes
TIMING: 45 minutes
TOOLS AND RESOURCES: Digital board, Game
TEACHER’S ROLE: The teacher controls the group environment, monitors behavior, and keeps record of the score system as well and the newly created words.
L.A.’S ROLE: The teacher assistant guides de activity and controls the turns and rules of the game.
HOW TO PLAY:
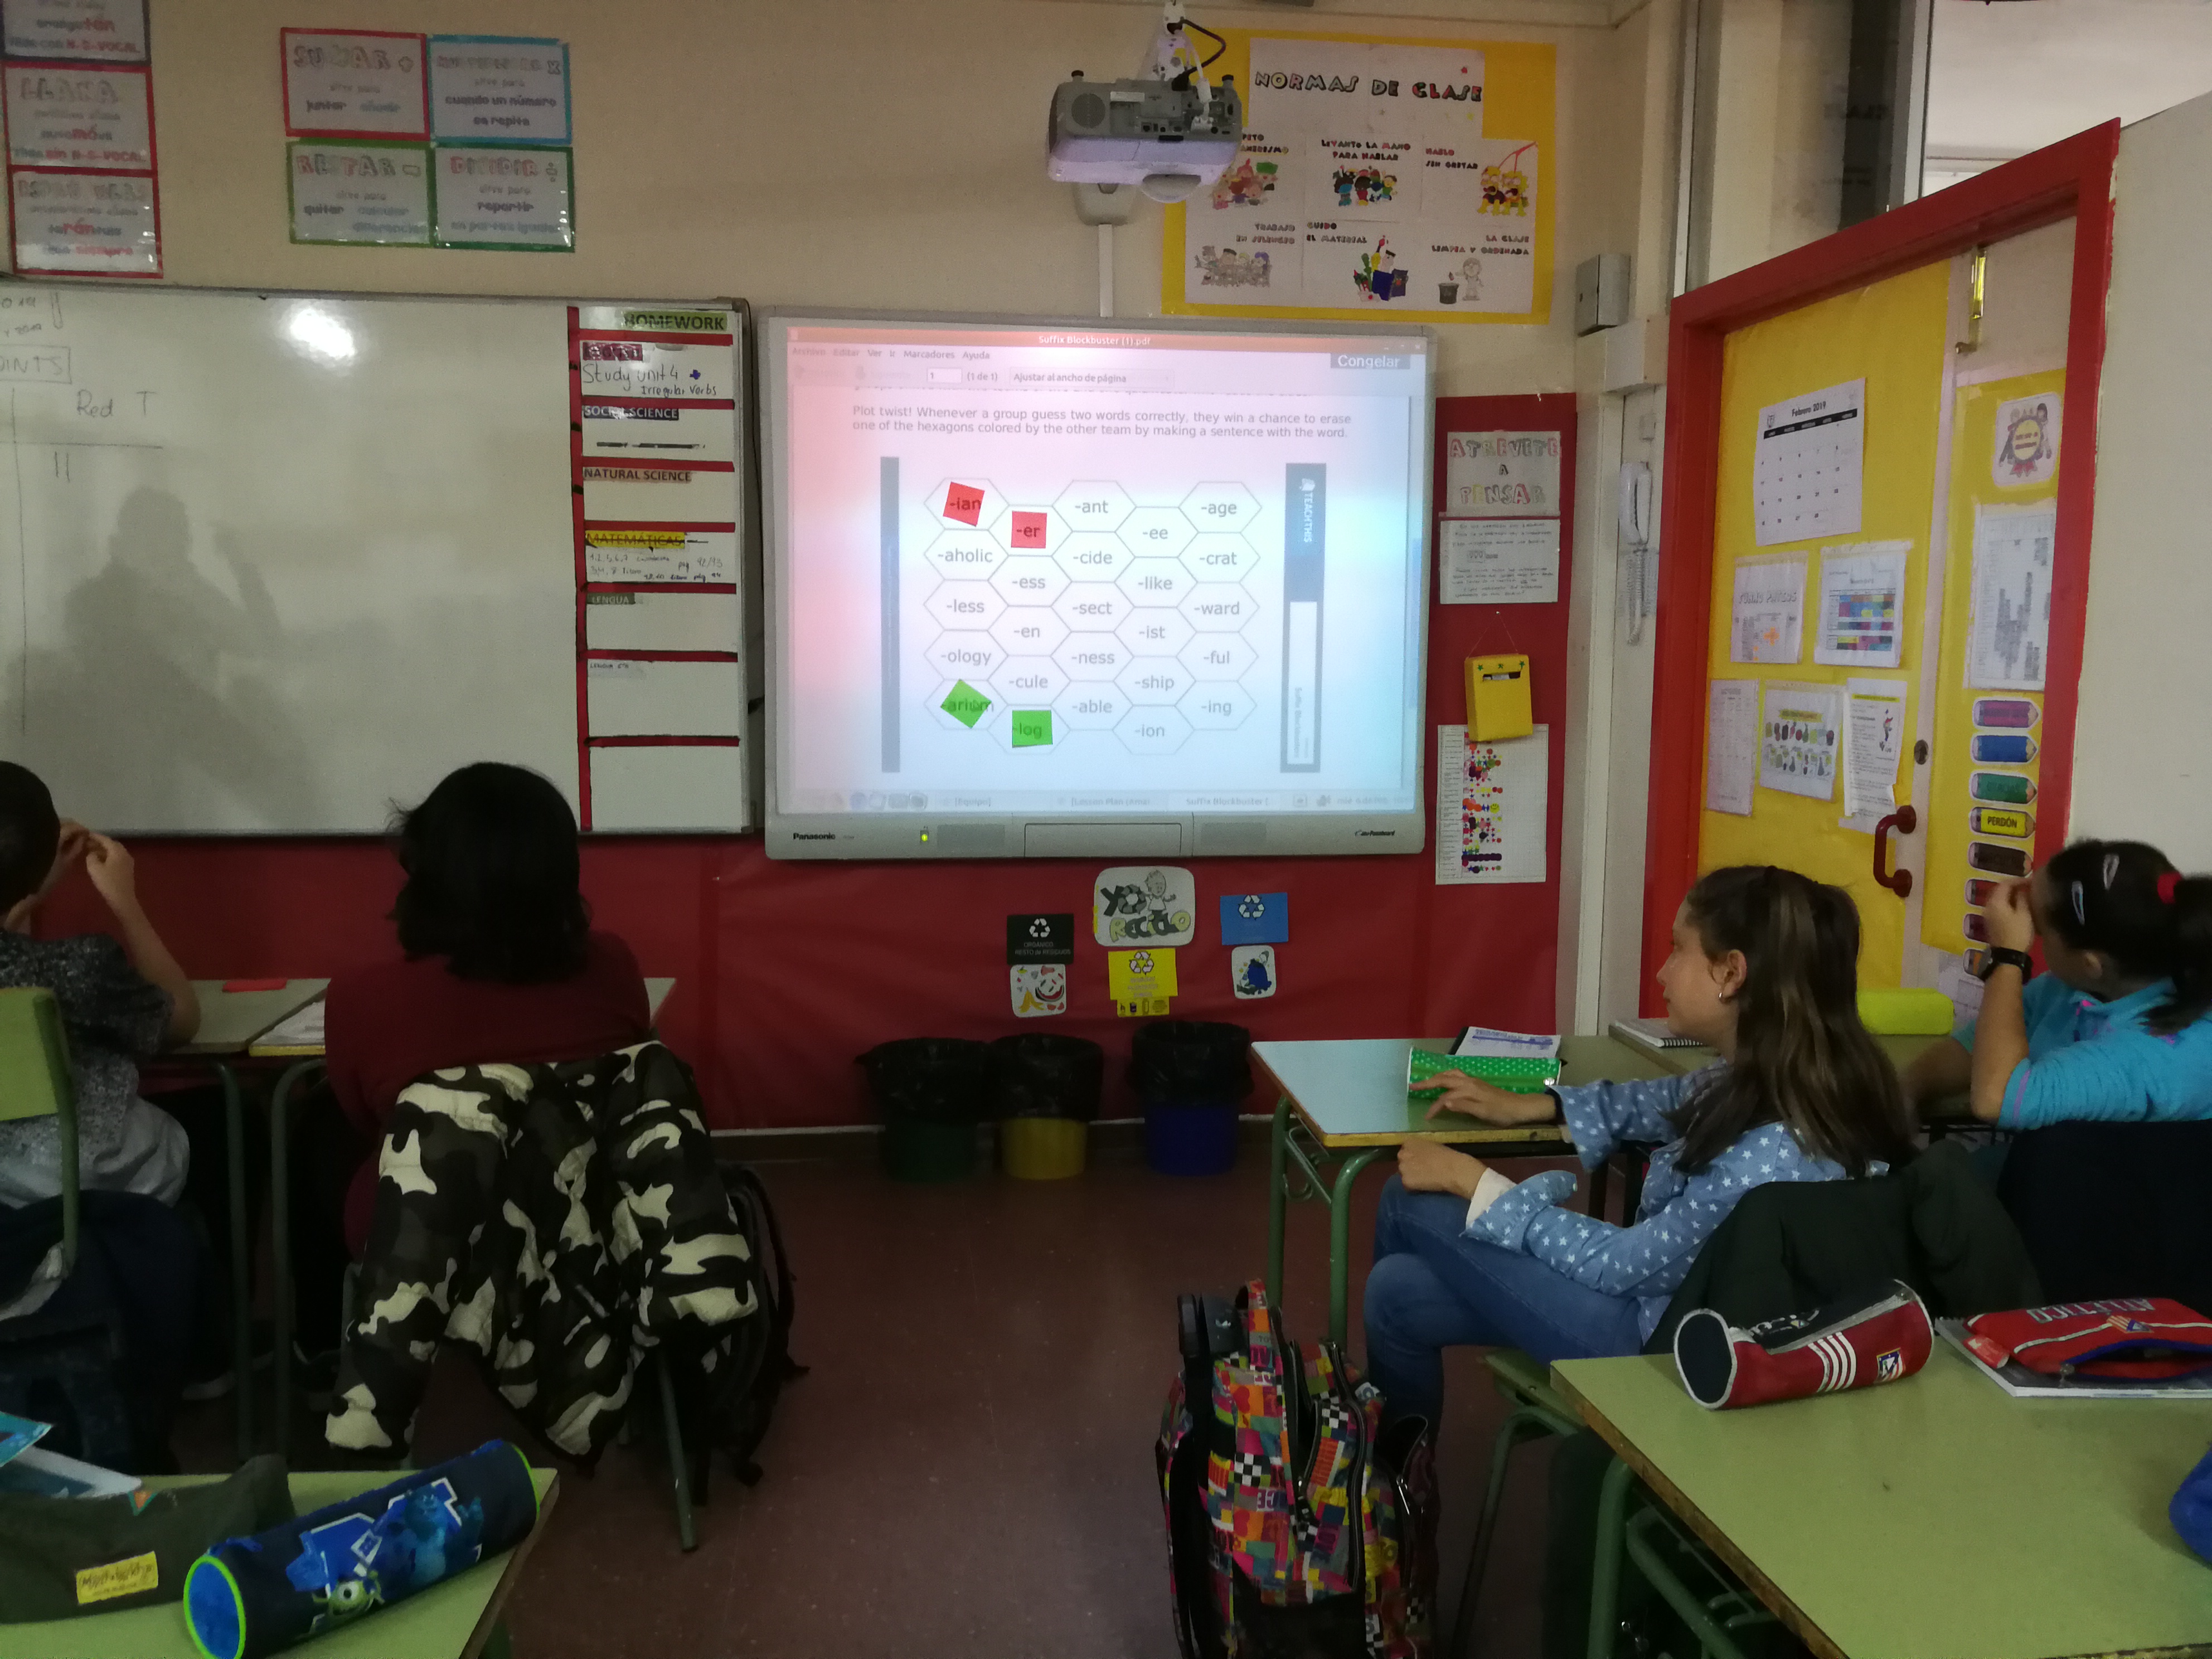
Students guess words that contain certain suffixes from given clues. A five-by-five hexagon grid is drawn or projected on the board and suffixes are
written into the 25 hexagons. The class is then divided into two teams and a color is assigned to each team. The two teams then decide which direction they want to play. They can go either top to bottom or left to right. The aim of the game is to connect the hexagons from one side of the grid to the other. This is a fairly strategic game and the students need to choose their moves carefully in order to win the game, blocking the other team when necessary. The first team to connect their hexagons from top to bottom or left to right wins the game.
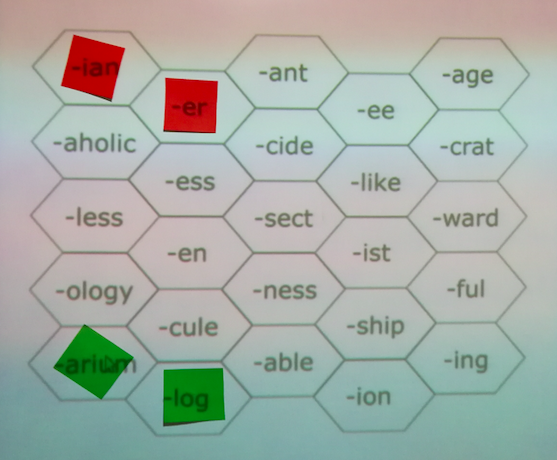
Some of the rules we created for this game, is that each team has 30 seconds after they choose a suffix to come up with a word. Whenever a group guesses two words correctly, they win a chance to erase or block one of the hexagons colored by the other team by making a sentence with the word.
Just a Minute Talk Show
TOPIC: Social Sciences, Christopher Colombus, Verb Tenses, Fluency
OBJECTIVES: The aim of this activity is to check student’s fluency, interaction, and communication skills by making them speak about a given topic for one full minute.
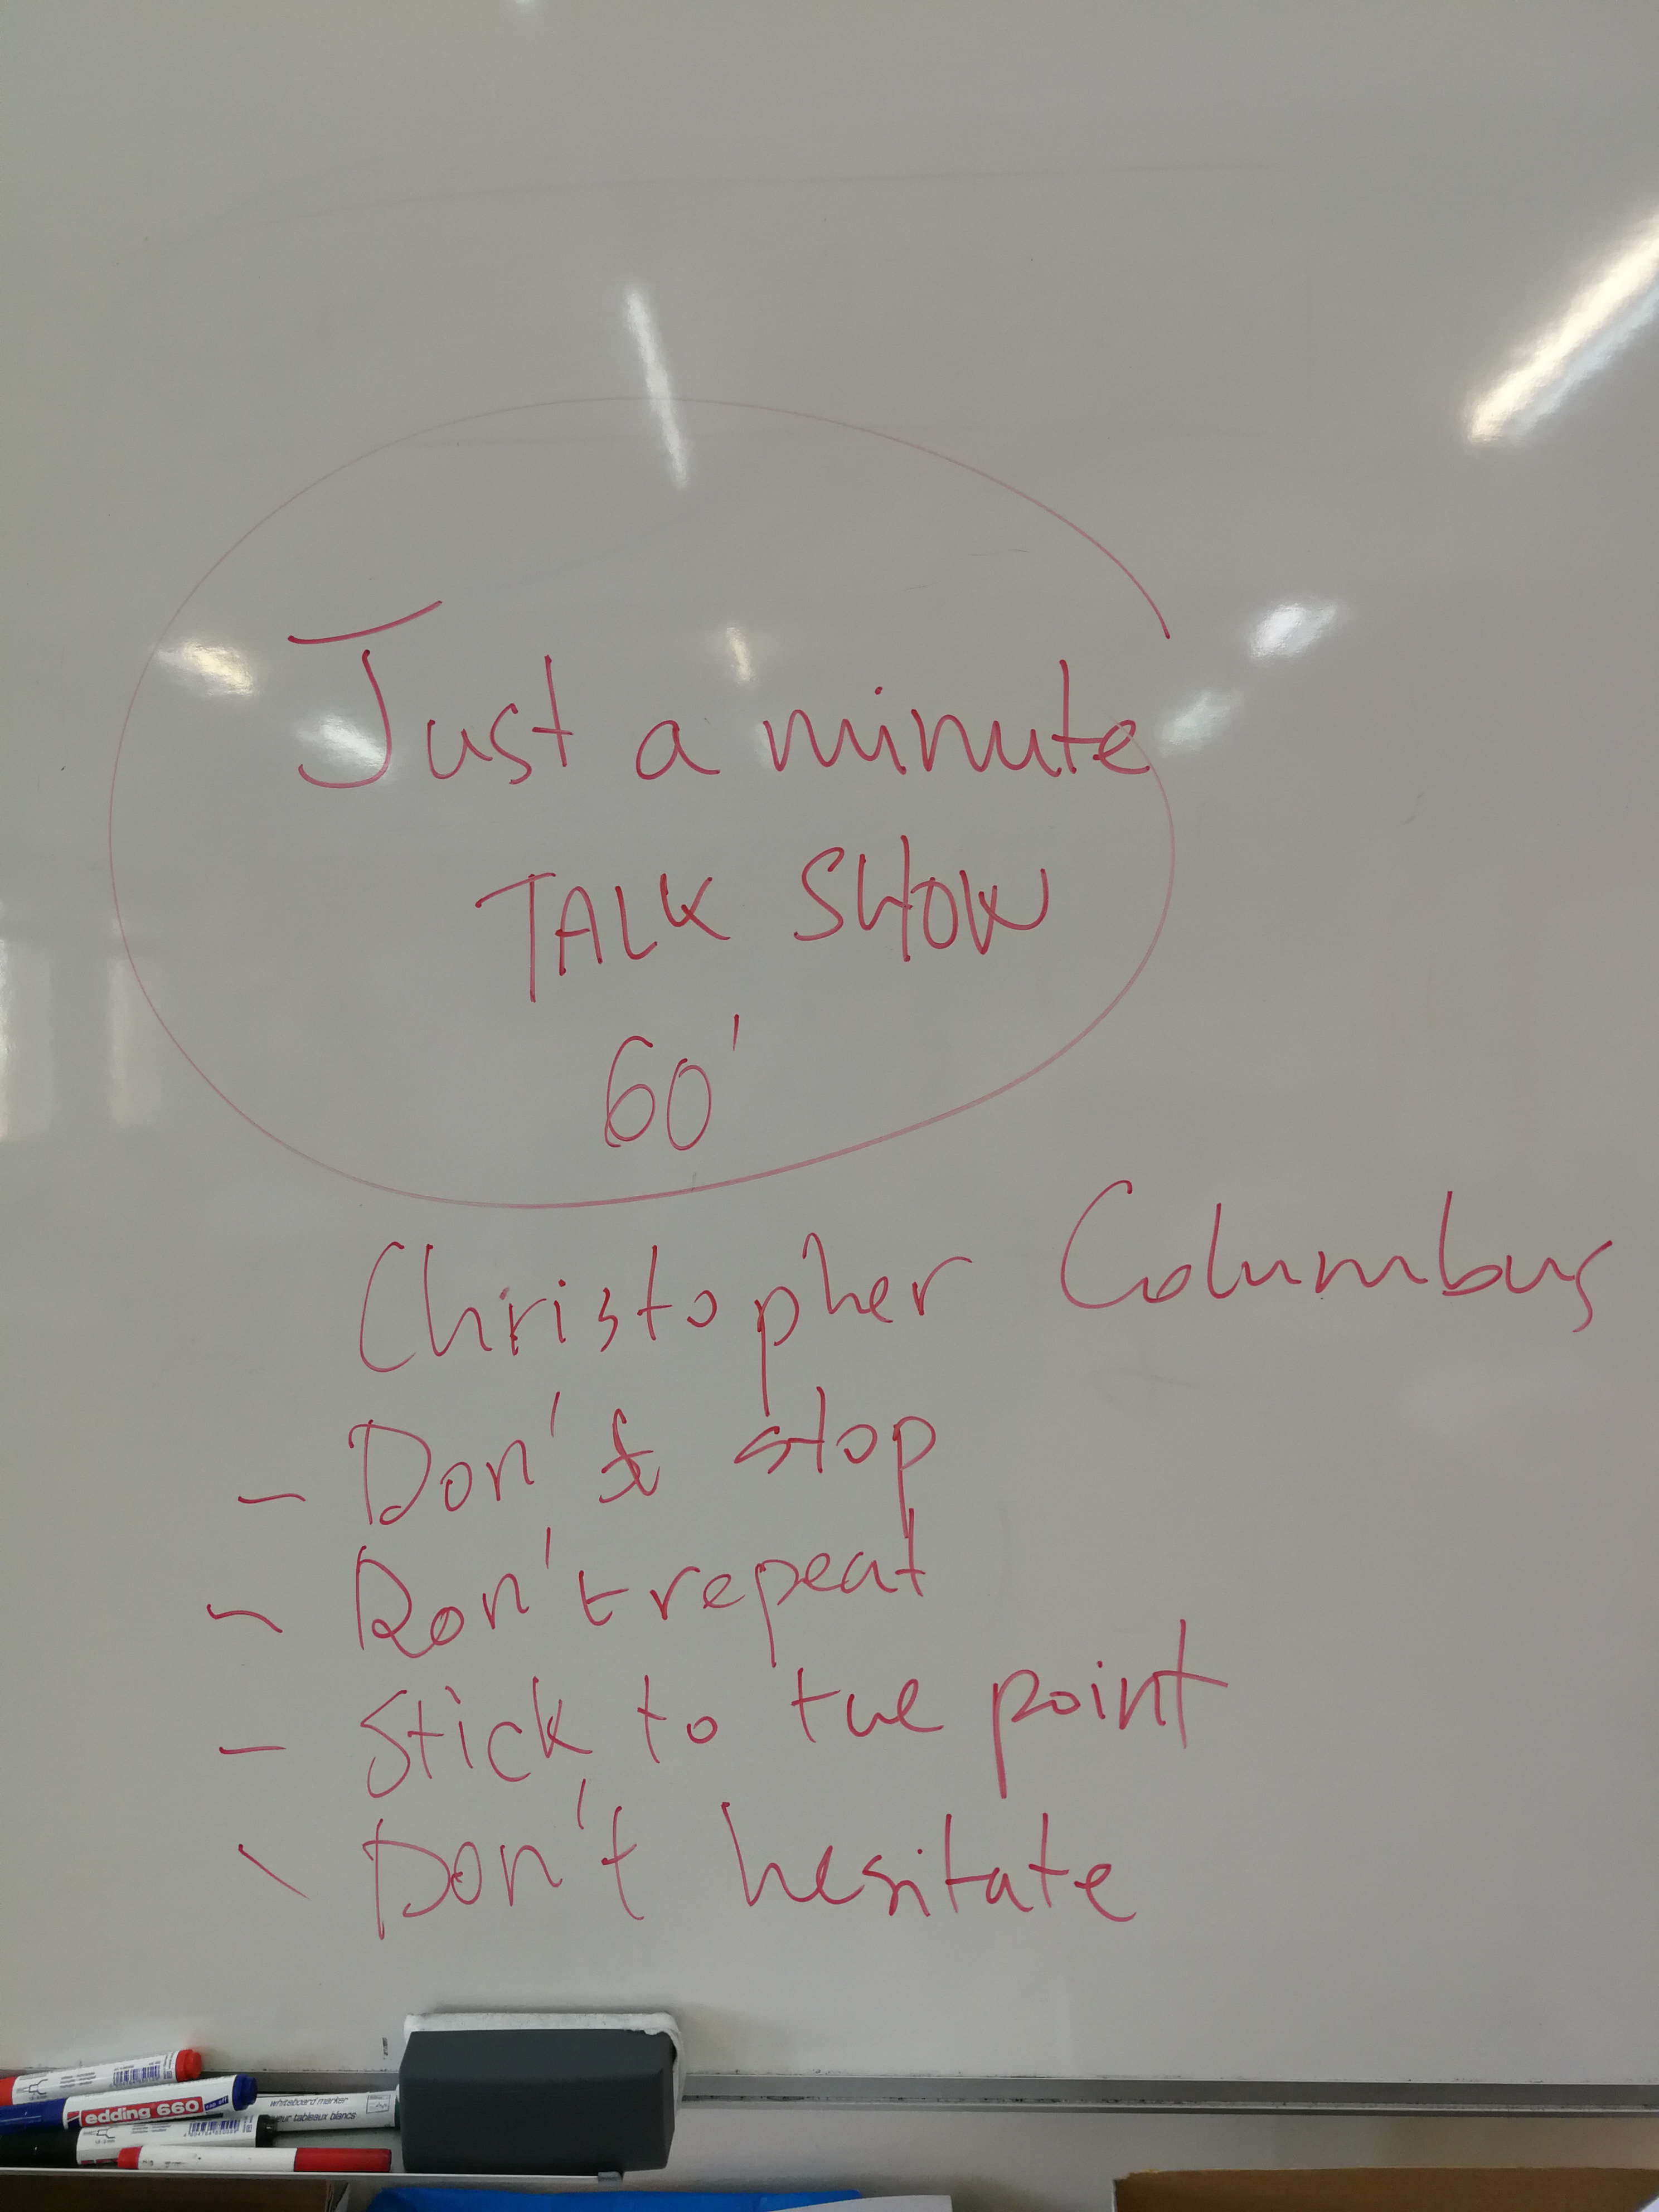
MATERIALS: A feedback chart was handed out to every student for self-assessment after a general evaluation. The students needed to evaluate themselves based on four categories: (1) stops, (2) hesitation (3) stick to the point (4) repetition.
TIMING: 25 minutes
TOOLS AND RESOURCES: Internet. The students were encouraged to search the Internet for more information about Christopher Colombus.
TEACHER’S ROLE: The teacher assigns a topic and is then in charge of the general evaluation and timing the activity.
L.A.’S ROLE: The teacher assistant is responsible for studying and practicing the topic material with the students and correcting their pronunciation, use of tenses and pacing.
INSTRUCTIONS: After a topic is assigned by the teacher, students go out in pairs to practice the material with the language assistant. When they are ready, they need to speak about the given topic for one full minute without stopping, hesitating, repeating the same ideas and sticking to the point. Fluency and communication skills are then evaluated at the end of the presentation, based on how much did the student hesitate, if the student stopped ahead of time, and if the student was able to talk about the topic in a clear and understandable way.
